
MineBrush publication
Chunky for Minecraft: Prepare Your World Before You Explore
Prepare terrain before your next survival session. Download Chunky for Java 26.2–26.3, choose the right build, generate an area around your base, and pause or expand it when needed.
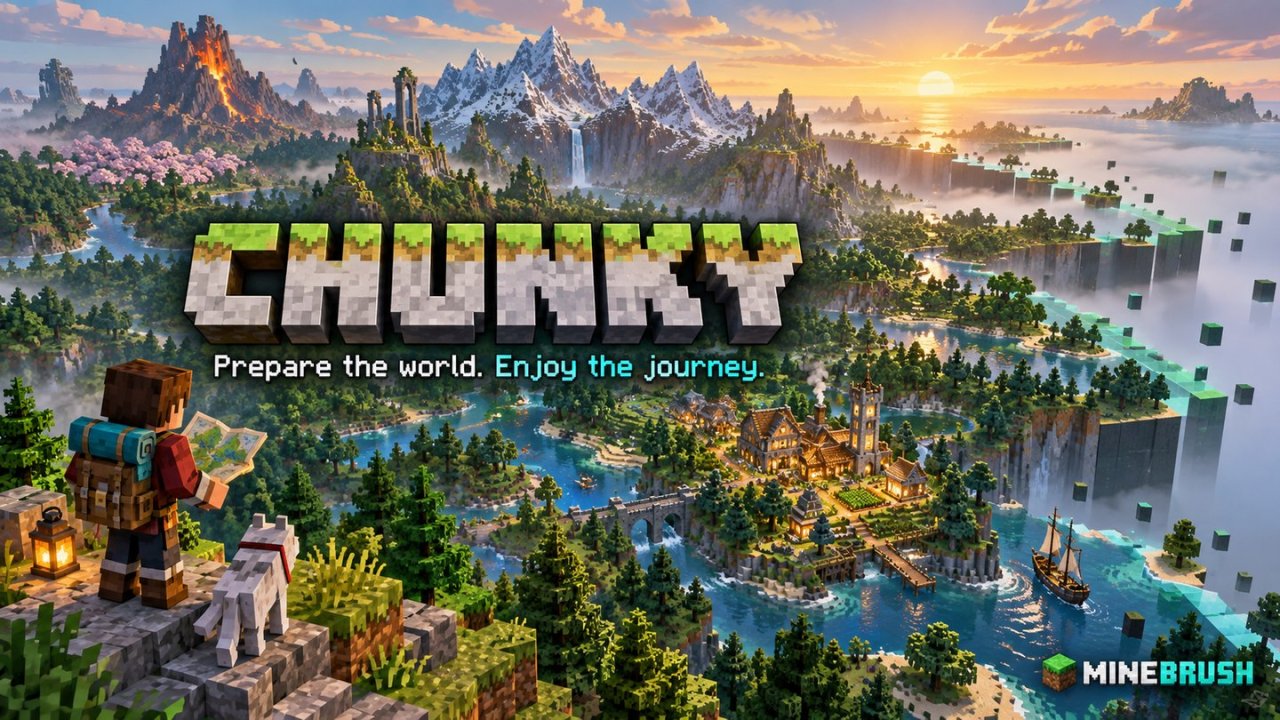
A group sets off in different directions, someone takes an elytra flight, and the server has to create fresh terrain for all of them. Chunky lets you do that terrain-generation work ahead of time, before the adventure begins.
Chunky prepares a region of your Java world in advance. It is useful for a new survival server, a planned exploration area, or a world you want to render on a web map. It can reduce the generation work encountered during later exploration. It does not increase your render distance or fix every cause of low FPS or server lag.
What can you use Chunky for?
Think about where players will actually go. Preparing an area people use is more valuable than generating a huge empty region nobody visits.
- A friends' survival launch: prepare the region around spawn before opening the server. Your group can scout villages and choose base locations without making every first expedition generate all its terrain on demand.
- A planned trip from an established base: select a region around the base rather than assuming that the world origin is where you play. Expand later when you have a reason to travel farther.
- A custom terrain world: set up your chosen world-generation mods or datapacks first. Our Tectonic and Terralith guide helps you choose that combination before preparing the landscape.
- A community map: generate the intended area, then render it with your map plugin. Chunky supplies terrain; the map renderer creates the view players browse.
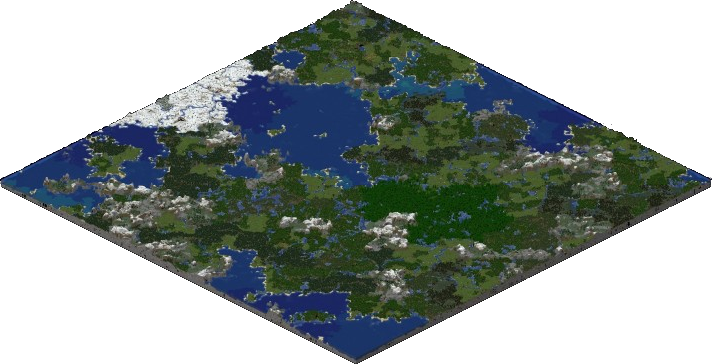
Already have a world? Chunky skips existing chunks and fills missing terrain in the selected area. It does not rebuild your base. However, if you plan to add new biomes or structures later, remember that preparing terrain now creates it with the world-generation setup you have now.
Choose the file for your platform
The Chunky files below are listed by the developer for Minecraft Java 26.2 and 26.3. Pick one Chunky build. A Paper plugin does not go into a Fabric mods folder, and the Forge and NeoForge files are separate builds.
Paper, Spigot, Bukkit or Folia — Chunky 1.5.3: use the Bukkit build in your server's plugins folder.
NeoForge — Chunky 1.5.4: use this build in mods.
Forge — Chunky 1.5.4: use this build in mods.
Fabric — Chunky 1.5.3: also install Fabric API for your exact Minecraft release.
Sponge — Chunky 1.5.3: follow your Sponge server's plugin installation instructions.
Fabric API: choose your Minecraft version
For Minecraft 26.3 only — Fabric API 0.161.0:
For Minecraft 26.2 only — Fabric API 0.158.0:
Do not install both API versions together. Keep JAR files intact; they are not archives you need to unpack to install.
Install it where the world runs
For a multiplayer world, the server owner installs Chunky. Ordinary players do not need the Bukkit plugin on their computers. For single-player, use the mod build matching your loader in that game's mods folder. If this is your first Fabric setup, follow our illustrated Fabric installation guide.
- Close the world or stop the server. Back up the world before starting.
- Add the correct Chunky JAR and any required dependency.
- Start the world or server, then enter
/chunkyin game. In a server console, omit the leading slash. - Check that the help appears. On a dedicated server, use an account with operator or appropriate command permission.
Pregeneration is substantial work. Schedule it before a play session, leave room for the growing world and its backups, and keep your computer awake. If you are just a player on someone else's server, ask the owner rather than trying to start a task yourself.
Prepare a small area around your base
This example is for in-game commands. Stand in the dimension and near the base you want to prepare. A radius of 500 is a modest starting example, not a promise about your computer's speed or available storage.
/chunky world
/chunky shape square
/chunky center
/chunky radius 500
/chunky selection
The first command selects your current world; center uses your current position. Read the selection to confirm the world, shape, coordinates and radius. Only then begin:
/chunky startThe square reaches about 500 blocks outward from its centre in each horizontal direction: roughly 1,000 blocks across. Minecraft works in whole chunks, so the actual generated edge can be rounded. This is a useful first area for nearby supply trips; it is not a whole-world generation command.
Using a server console? It has no player position. Set the real world name and explicit centre coordinates, for example chunky world world and chunky center 0 0, before the remaining commands without slashes. Use your own world's name; Nether and custom-dimension names vary by setup.
Once this area finishes, choose a larger radius if you need it and start another task. Existing chunks are skipped. Generate each dimension deliberately instead of assuming an Overworld task also prepares the Nether or End.
Choose a region that fits your plans
Radius is not diameter. Doubling a square's radius makes its area about four times larger. Going from a local base area to a vast region can therefore be a much bigger job than the number suggests.
A square is convenient when you want to match Minecraft's normal square world border. A circle can suit an area centred on a town or spawn, but selecting a circle does not create a circular barrier.
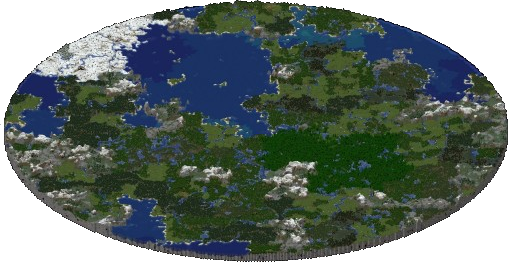
To use an existing world border, select the correct world, choose the square shape, then use /chunky worldborder and inspect /chunky selection. This copies the border's area into Chunky's selection; it does not move the border. Minecraft's worldborder set uses the full width, while Chunky's radius measures from the centre.
Avoid moving a border across existing homes just to simplify preparation. If you want a limited survival world, agree on its size first, check that important builds remain inside, and generate the chosen region before the group starts exploring it.
Pause for game night, continue later
/chunky progressshows the current task's progress./chunky pausesaves progress and pauses tasks./chunky continueresumes saved tasks./chunky cancelremoves the task's saved progress. It does not remove chunks already generated.
Use pause when friends want to play or when you need to stop for the evening. Cancellation is for abandoning a task. Neither is an undo button for the world. The separate trim command deletes terrain and can delete builds; it is not part of this starter workflow.
In single-player, leave the game unpaused while generating; keeping chat open is one option. After restarting, resume with /chunky continue unless you have deliberately enabled Chunky's automatic restart continuation. On a server that pauses when empty, check that behaviour before leaving a job unattended.
Common problems and the next useful step
The command is unknown
Check that you installed the right platform file and restarted the game or server. If Chunky failed to load, read the first relevant startup error. A Fabric dependency error usually needs the matching Fabric API; a permissions error needs the server owner to grant access.
The task is slow or the server becomes hard to play on
Pause it and continue outside your normal play session. Watch available storage before expanding the region. Terrain complexity and hardware affect completion time, so another server's speed is not a reliable prediction. If you use a web-map renderer, avoid running its heavy render alongside pregeneration; render afterward.
My world map is still blank, or distant terrain has holes
Generating Minecraft chunks and creating a map or Distant Horizons display are separate jobs. The renderer may need to process the terrain afterward. Do not regenerate a huge area merely because its visual map has not caught up.
I wanted new biomes, but got the old terrain
Chunky uses the world's active generation setup. Install and verify your chosen world-generation content before preparing the area. Changing it afterward does not replace already-generated chunks. Try the intended setup in a new test world before making a large commitment in your main save.
For an initial run, success is simple: the intended region finishes, the world still contains your builds, and your next trip stays within prepared terrain. Expand when your exploration needs it—not just because a larger number looks impressive.
More for your Java setup.
Plan mountain bases and river expeditions with Tectonic and Terralith. Choose mods or datapacks, install the right combination, and shape a fresh Java world around your next adventure.
- Edition
- Java Edition
- Difficulty
- Beginner
- Time
- 8 min read
Start a new world
MineBrush · Guide
Tectonic + Terralith
Plan mountain bases and river expeditions with Tectonic and Terralith. Choose mods or datapacks, install the right combination, and shape a fresh Java world around your next adventure.
Start a new world
- Minecraft version
- Java — match project releases
- Game edition
- Java Edition
- Platform family
- Java PC
- Supported devices
- Windows, macOS, Linux
- Install format
- Mods or datapacks
- Touch readiness
- Not required
- Resource type
- Guide
- Compatibility confidence
- Source claimed
- Card evidence statement
- Terrain, biomes and practical setup
- Card delivery statement
- Step-by-step guide
- Card limitation note
- Start a new world
- Edition applicability
- Java
- Estimated time
- 8 min read
- Guide difficulty
- Beginner
- Delivery state
- No file
- Lifecycle state
- Current
Build your first Fabric setup for Minecraft Java. Download the installer, choose matching mods, find the right folder and check the feature in-game—with illustrated steps, useful examples and fixes for common errors.
- Edition
- Java Edition
- Difficulty
- Beginner
- Time
- 8 min read; setup time varies
MineBrush · Guide
Install Your First Fabric Mods
Build your first Fabric setup for Minecraft Java. Download the installer, choose matching mods, find the right folder and check the feature in-game—with illustrated steps, useful examples and fixes for common errors.
- Minecraft version
- Choose the version your mods support
- Game edition
- Java Edition
- Platform family
- Bedrock & Mobile
- Supported devices
- Windows · macOS · Linux
- Install format
- Universal installer JAR; Java required
- Touch readiness
- Not required
- Resource type
- Guide
- Compatibility confidence
- Not applicable
- Edition applicability
- Java
- Estimated time
- 8 min read; setup time varies
- Guide difficulty
- Beginner
- Delivery state
- Direct download
- Lifecycle state
- Current

Fix outdated-client and incompatible-version errors in Minecraft Java. Choose the right launcher profile, match your modpack, and know when the server owner needs to act.
- Edition
- Java Edition
- Difficulty
- Beginner
- Time
- 7 min read
Bedrock and Geyser routes explained separately.
MineBrush · Guide
Fix Java Server Version Mismatch
Fix outdated-client and incompatible-version errors in Minecraft Java. Choose the right launcher profile, match your modpack, and know when the server owner needs to act.
Bedrock and Geyser routes explained separately.
- Minecraft version
- Java — use the server-supported release
- Game edition
- Java Edition
- Platform family
- Bedrock & Mobile
- Supported devices
- Windows, macOS, Linux
- Install format
- Launcher profile and server settings
- Touch readiness
- Not required
- Resource type
- Guide
- Compatibility confidence
- Source claimed
- Card evidence statement
- Choose a supported version and the correct modpack.
- Card delivery statement
- Step-by-step joining guide
- Card limitation note
- Bedrock and Geyser routes explained separately.
- Edition applicability
- Java
- Estimated time
- 7 min read
- Guide difficulty
- Beginner
- Delivery state
- No file
- Lifecycle state
- Current
Player discussion 0
Questions, discoveries and help from other players.