
MineBrush publication
Sildur’s Vibrant Shaders: Choose Your Look, Preset and Settings
Bring richer sunlight, reflections and atmosphere to your Java worlds with Sildur’s Vibrant 2.02. Compare six presets, see real examples, download the right ZIP and tune shadows, water, blur and lighting for the way you play.
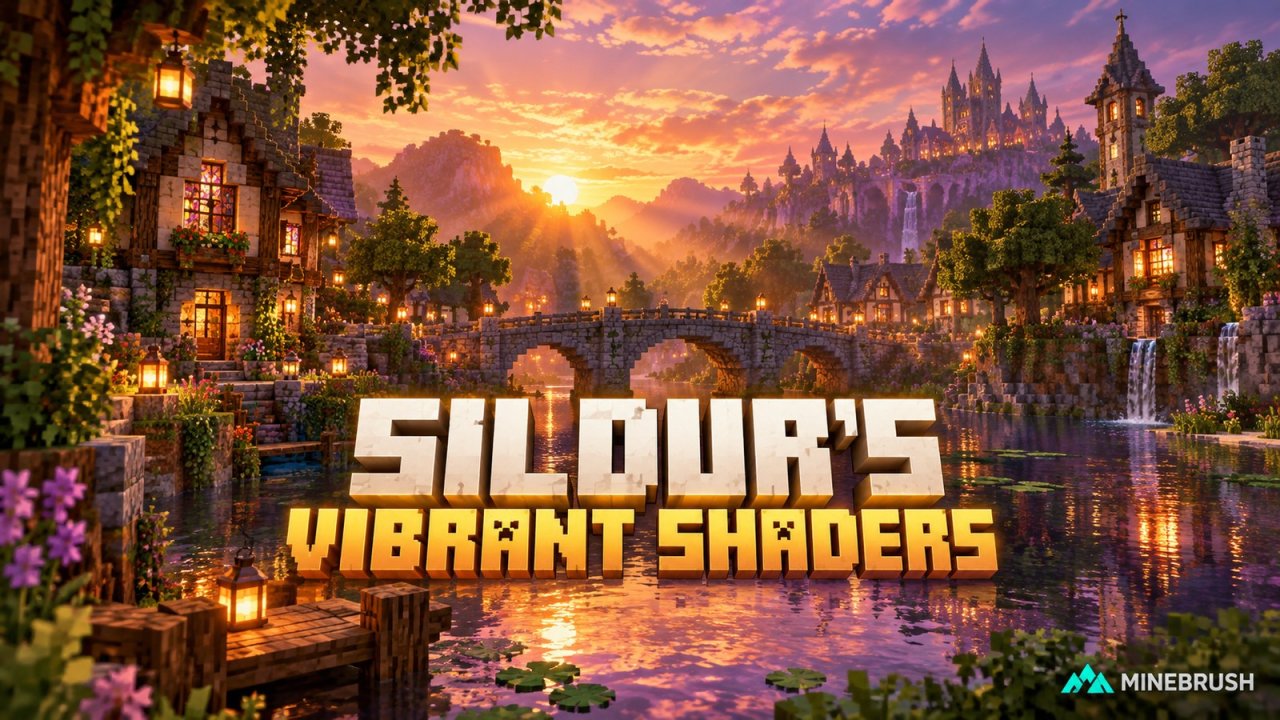
Sildur’s Vibrant Shaders gives familiar Minecraft places a much richer mood: sunlight catches leaves, water reflects the sky, caves glow around light sources and stained-glass windows can cast coloured shadows. It is a good fit when you want a riverside base, garden or mountain settlement to feel more atmospheric without rebuilding the world.
The current release here is Vibrant 2.02, which adds support for Java 26.3 and fixes transparency problems in older game versions. Choose a preset, install it through Iris or OptiFine, then adjust the effects around the way you actually play. You can keep the lighter look for survival and switch to a richer preset for screenshots.
See the effects · Choose a preset · Downloads · Install · Useful settings · Fix problems
What looks different, and where can you use it?
Vibrant changes lighting and presentation, not your world’s blocks or progression. It does not add a new biome, furnish a house or generate the builds in the pictures. The gallery below shows the author’s visual examples; the exact result depends on your preset, settings, world and any resource pack you use.
Build beside water
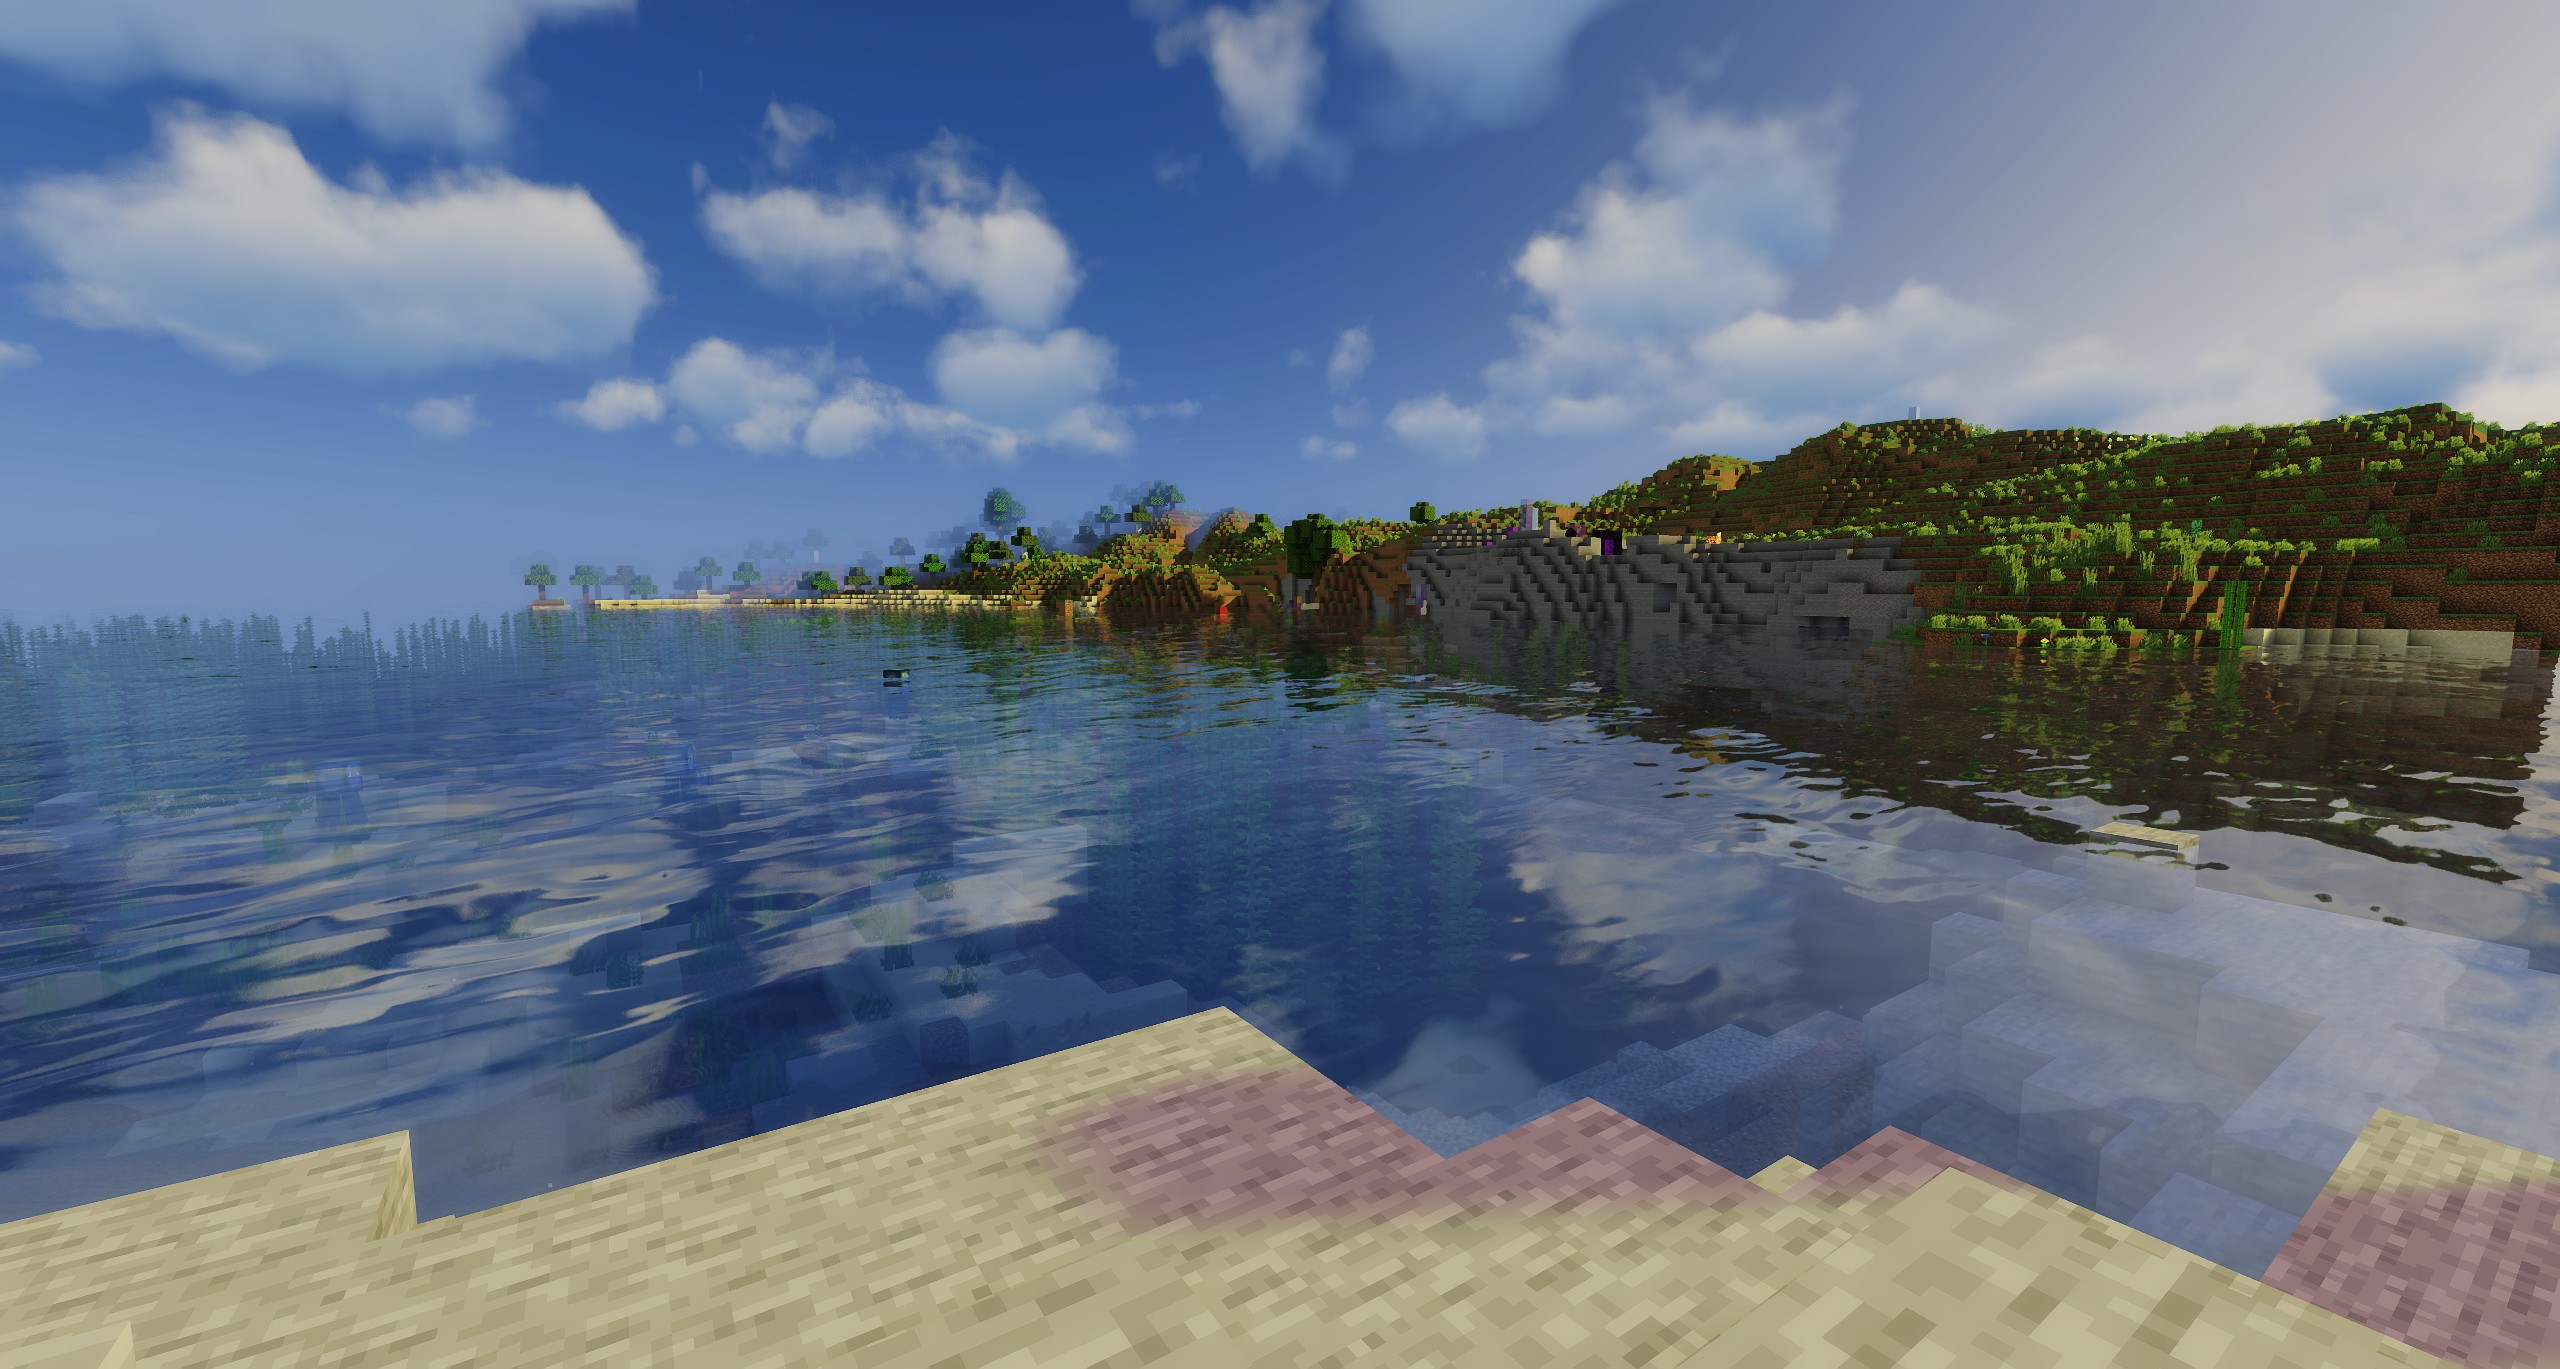
A lake house, harbour or bridge gives reflections room to work. Try leaving a clear stretch of water in front of a building so the roofline and sky can appear in the view. At sunset, face across the water toward the light for a warmer scene; at midday, the same location is easier to judge for block colours and visibility.
Use windows as part of your interior lighting
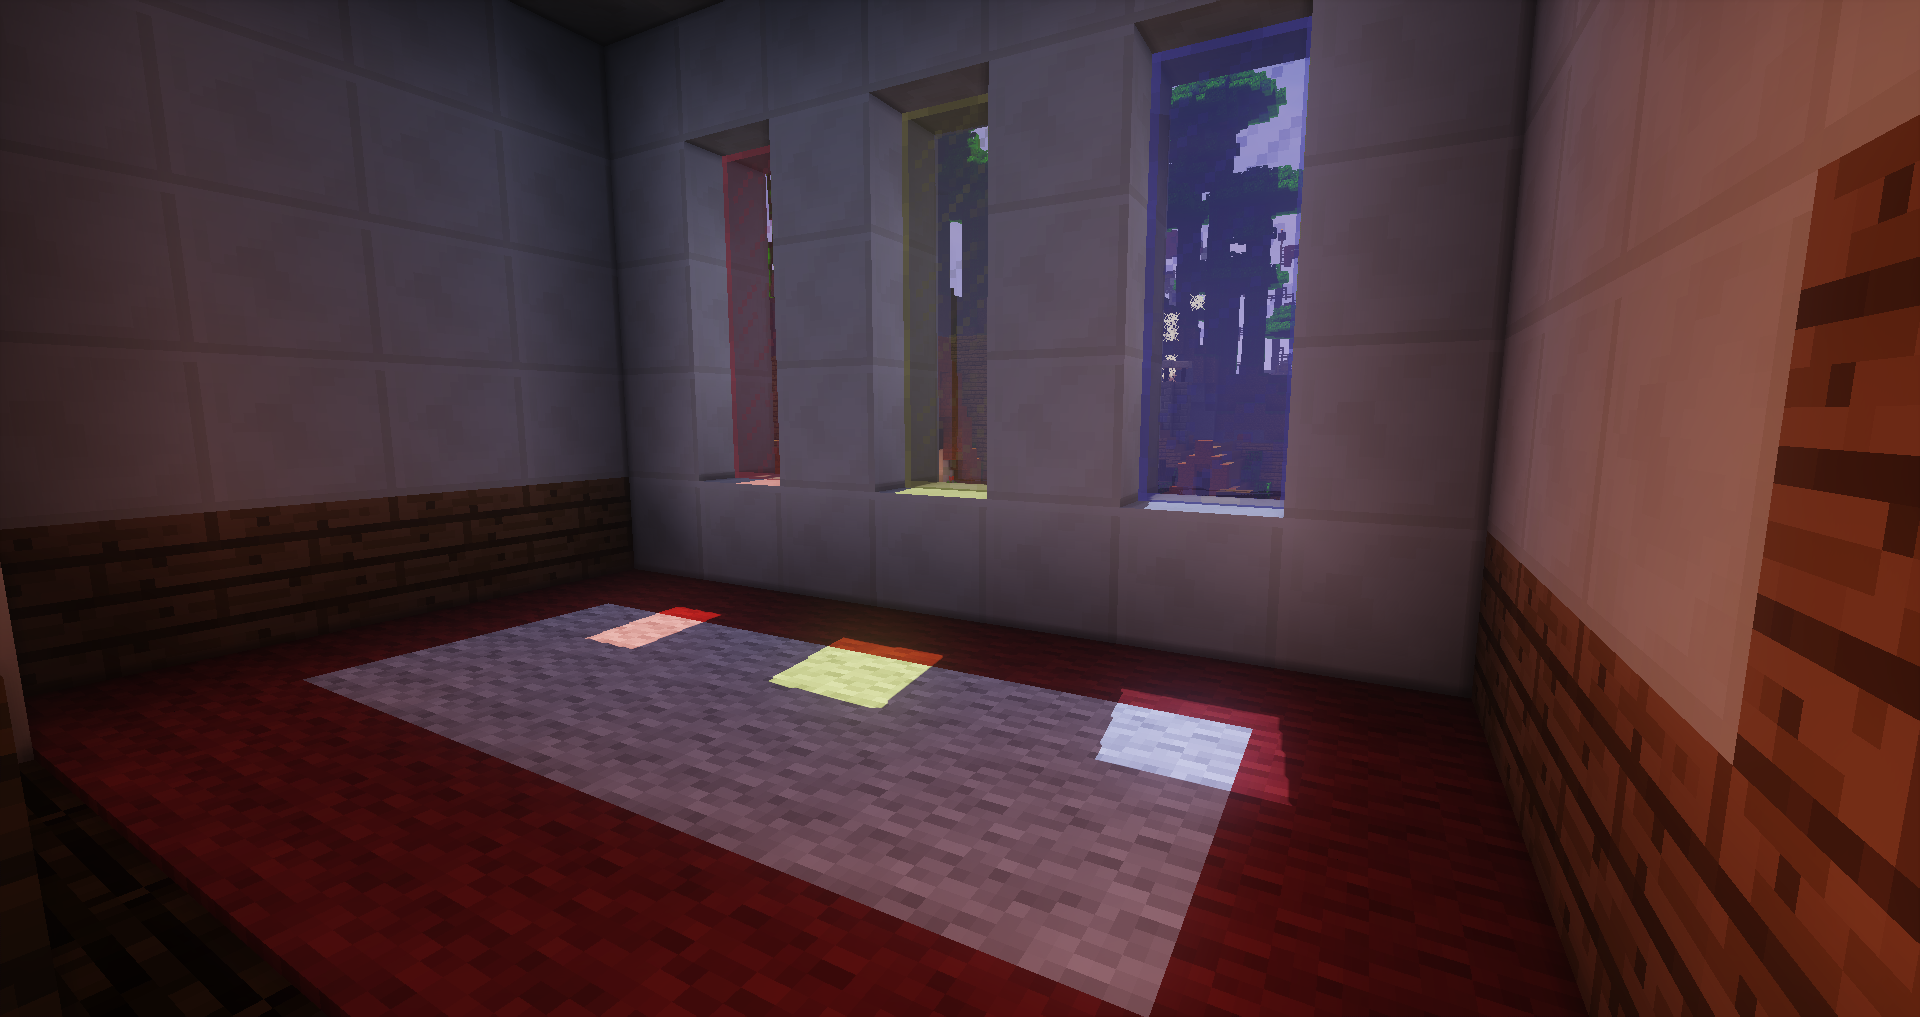
Coloured Shadows can tint light passing through stained glass. Try a small window above a pale floor, then check the room while sunlight reaches it. This makes chapels, galleries and staircase landings interesting without covering every surface in decorations. The sun’s position matters: a window facing away from direct light will not produce the same pattern.
Make gardens and forest paths feel alive
Warm sky colours, shadows and moving foliage suit cherry gardens, woodland paths and village outskirts. Keep important paths visually clear: dense grass and strong shadowing can hide the edge of a step even when the scene looks attractive. If the movement is distracting while building, the Waving Objects settings let you change the relevant vegetation effects.
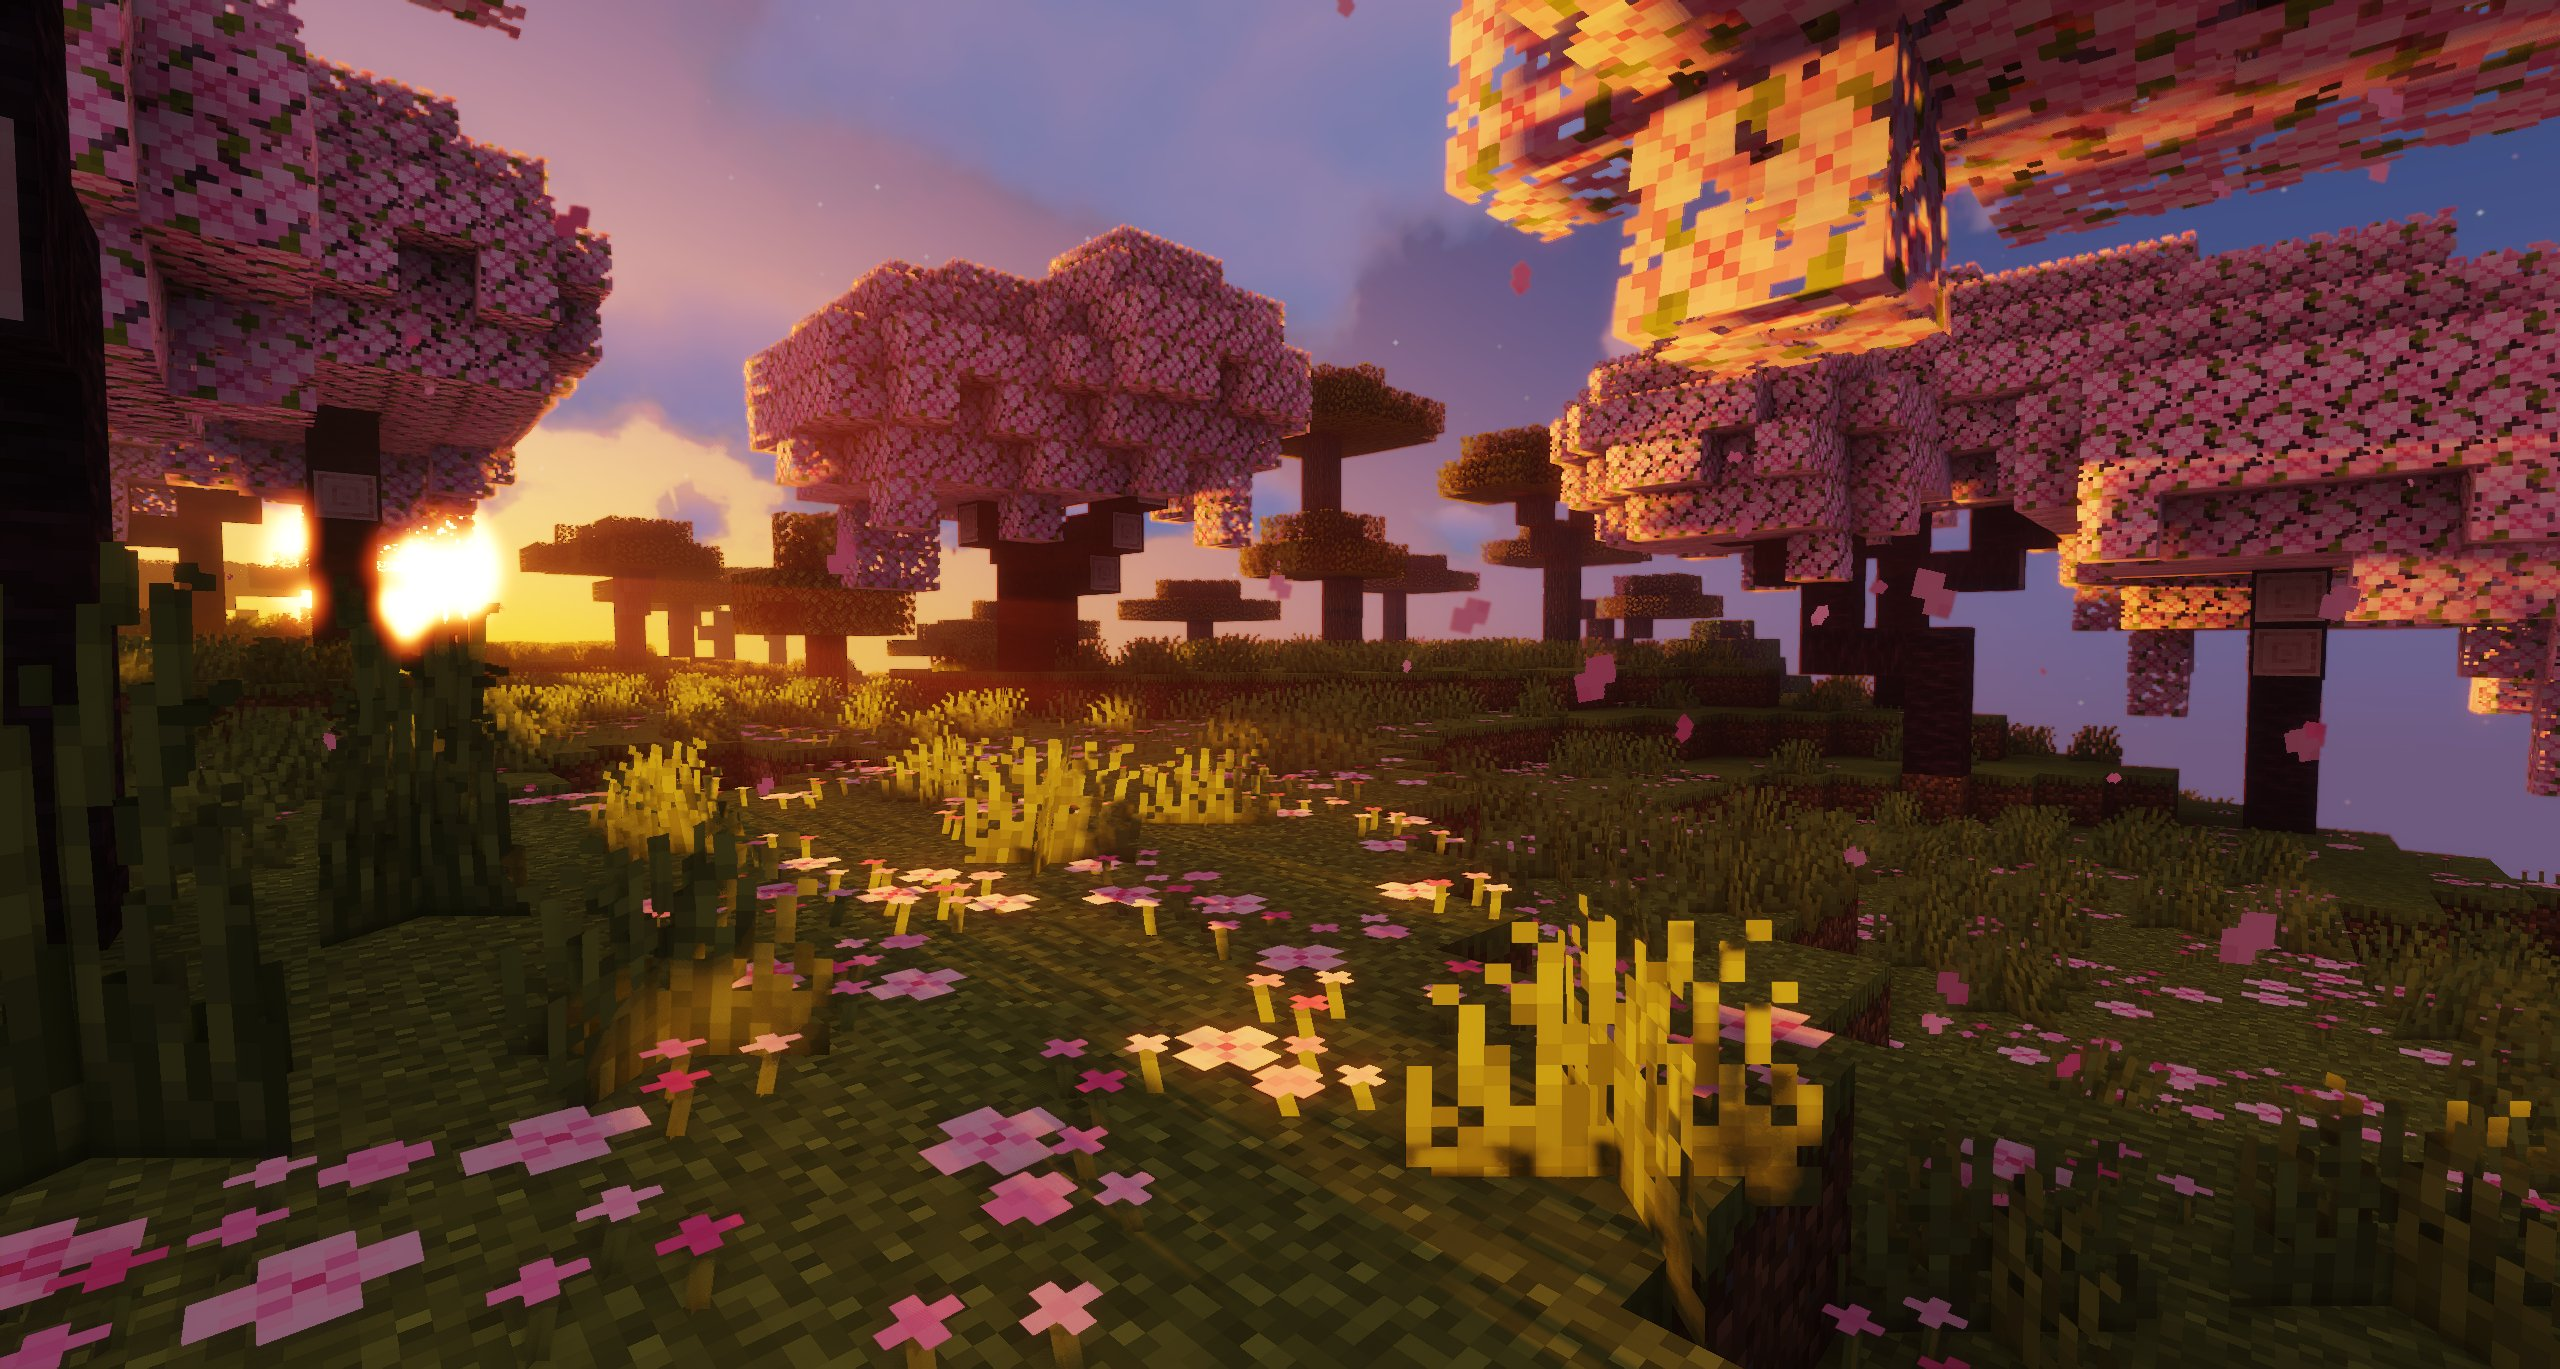
The author also added this Java 26.3 example with the current release. It shows the pack’s warm, contrasting lighting in a wooded scene; it does not mean every biome will have these colours.
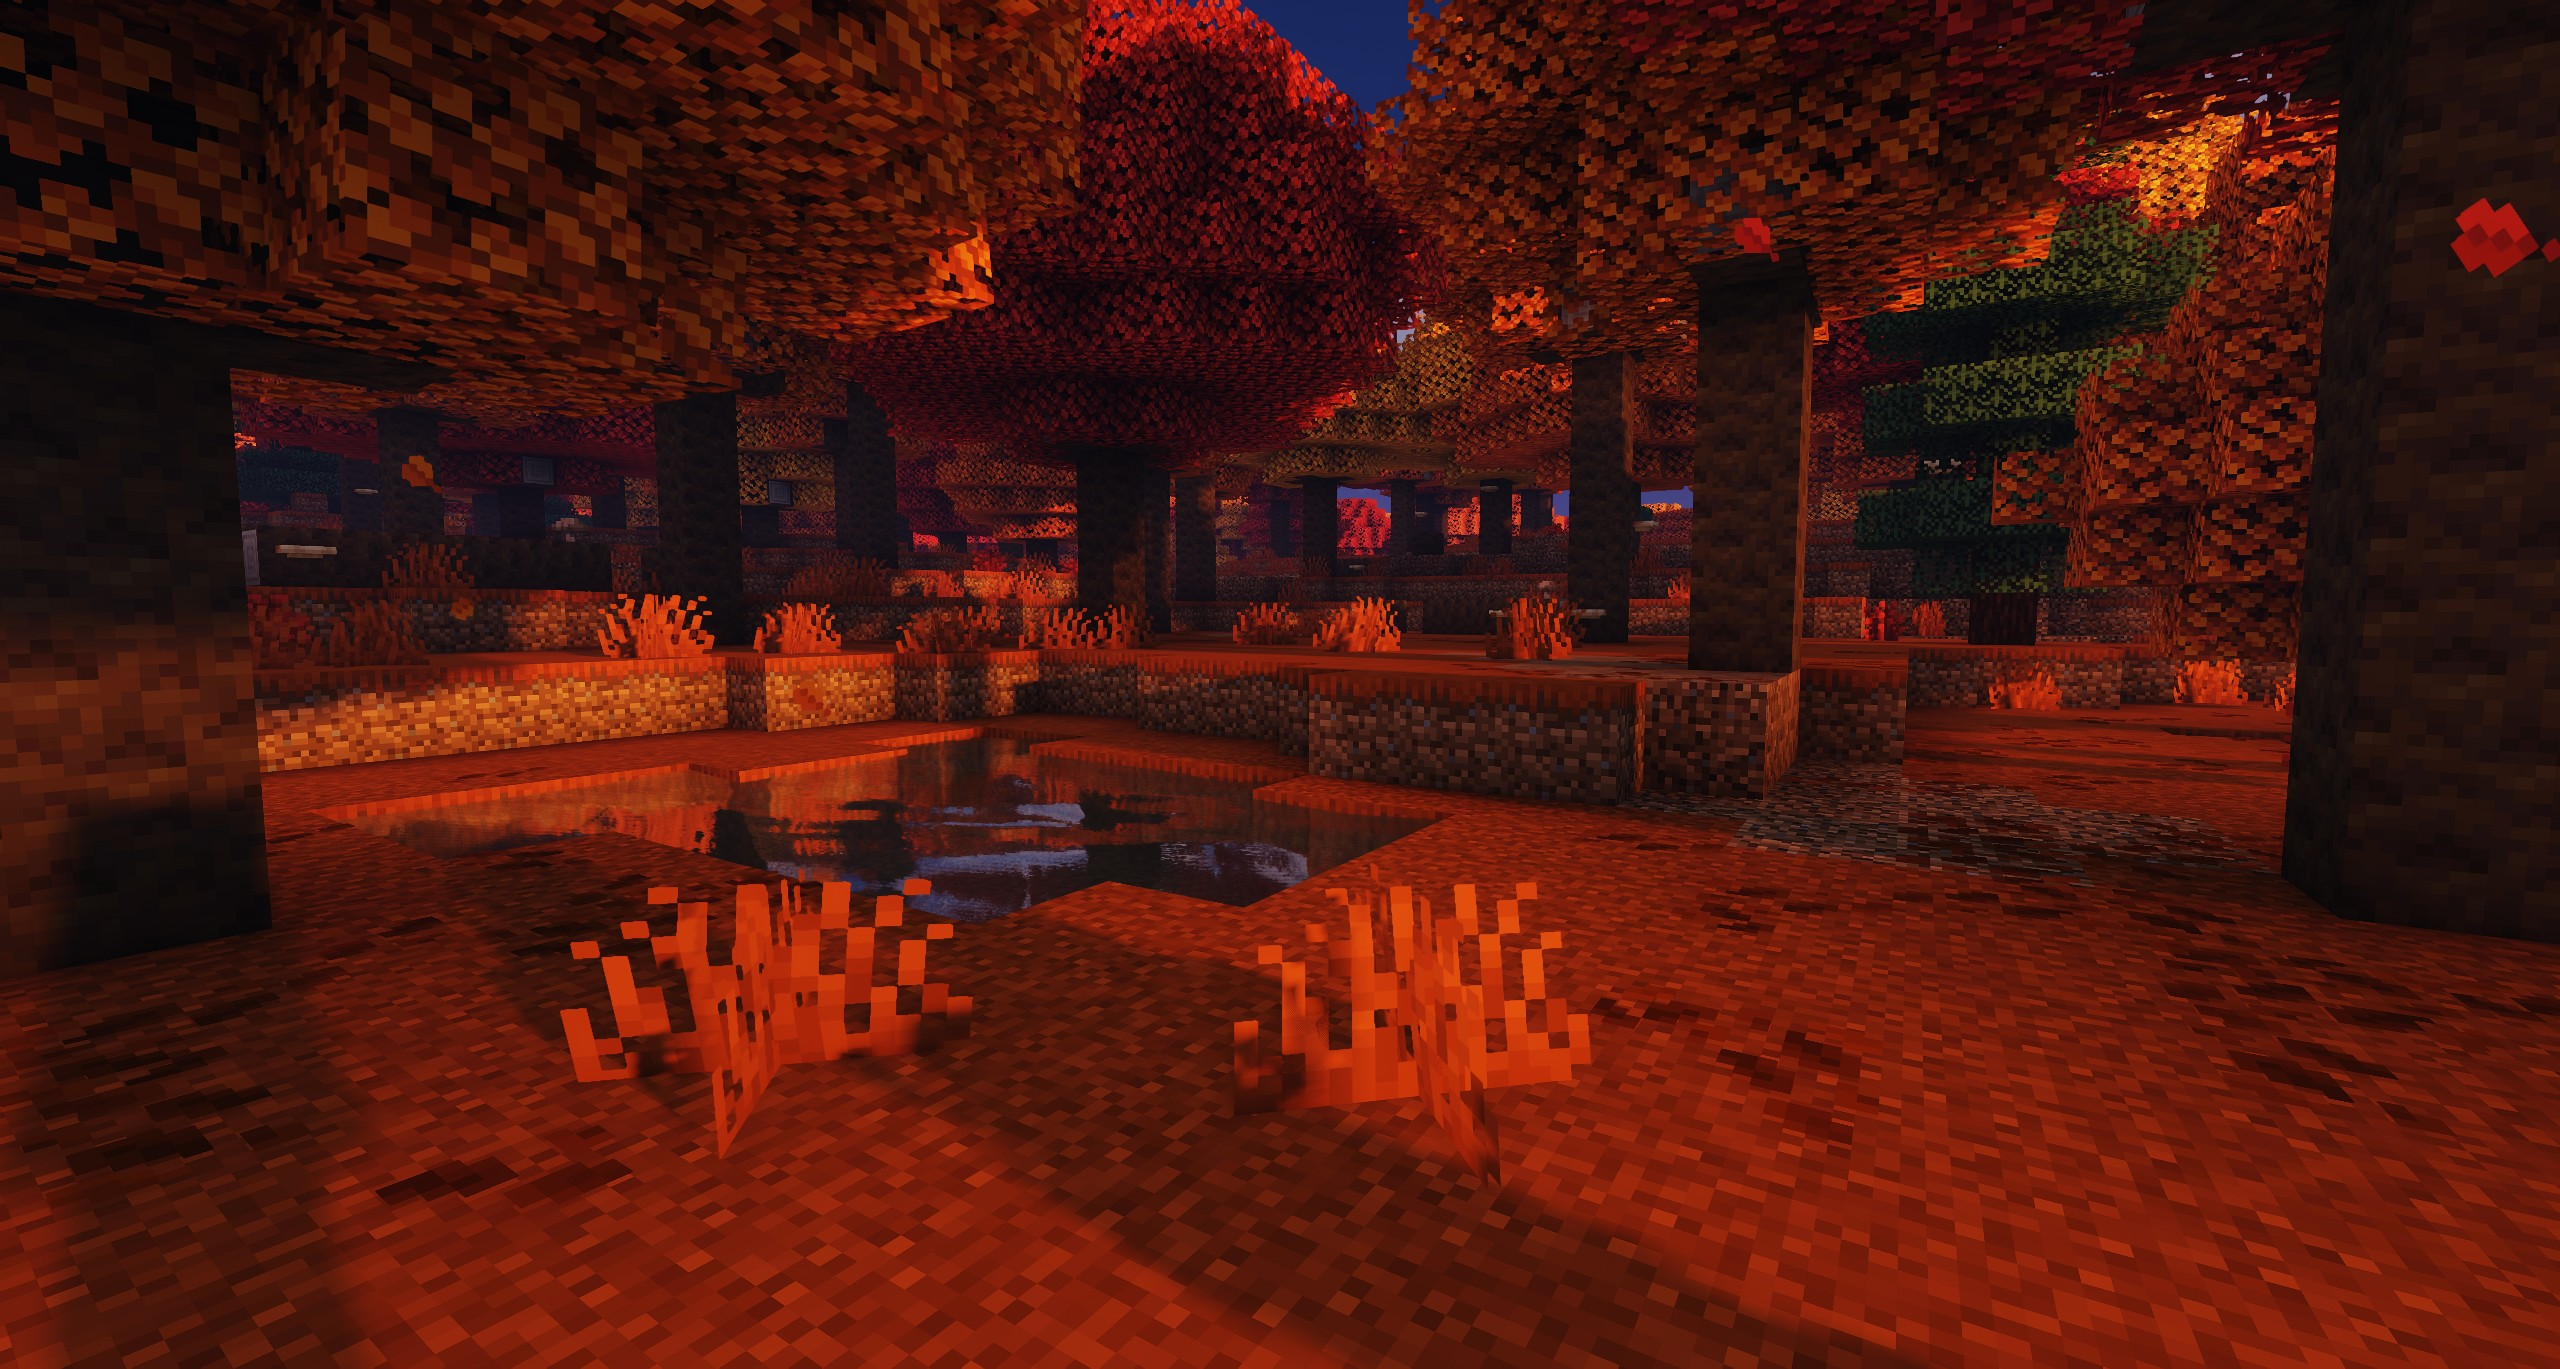
Create a more atmospheric cave base
A pool, vines and carefully placed lights give an underground room contrasting bright and dark areas. Leave enough real light and clear routes for normal play. A shader changing how a place looks does not replace Minecraft’s gameplay lighting rules, so do not judge spawn safety by the picture alone.
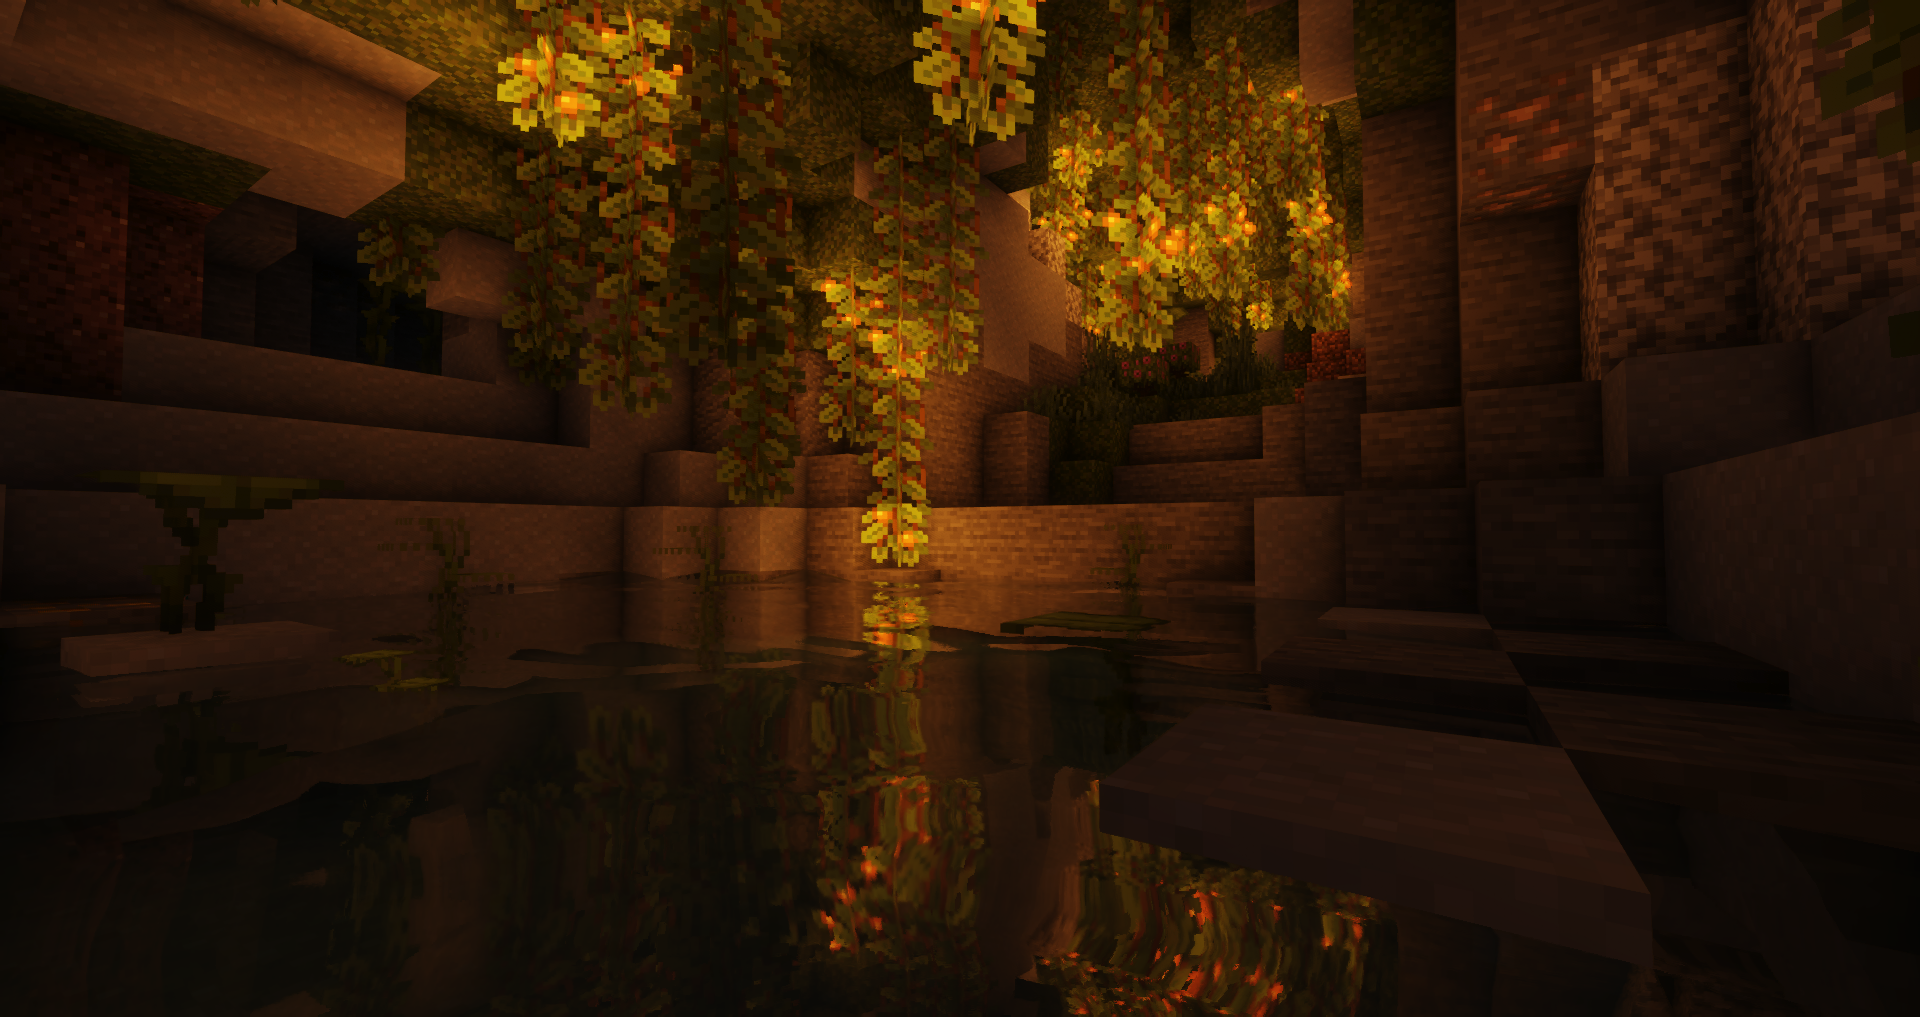
Lite, Medium, High or Extreme?
Start with Lite if you are unsure how the pack will feel on your computer. Move to Medium or High if there is enough performance headroom and you prefer the extra effects. You are choosing a starting configuration, not a permanent commitment: shader settings can be adjusted later.
The differences below come from the supplied 2.02 settings. They describe the presets before you change options; they are not benchmark results.
| Preset | Main difference |
|---|---|
| Lite | Lower shadow resolution; bloom, ambient occlusion and PCSS soft-shadow filtering are off by default. |
| Medium | Sharper shadows than Lite and bloom enabled; ambient occlusion and PCSS remain off. |
| High | Higher shadow resolution, ambient occlusion and PCSS filtering for more detailed shading. |
| High-MB | The High starting point with motion blur enabled. |
| Extreme | Higher shadow resolution and a longer shadow distance than High. |
| Extreme-VL | The Extreme starting point with volumetric lighting enabled. |
For everyday survival, choose the version that stays responsive while you turn, travel and enter busy areas. For a still image of a finished build, you may prefer richer shadows or volumetric lighting even if you use a lighter preset afterwards. Avoid High-MB if blurred camera movement bothers you. There is no single FPS figure that applies to all computers, resolutions and worlds.
Download Sildur’s Vibrant 2.02
These are the author’s separate preset ZIPs. Select one in the shader menu at a time. You can keep several in your shaderpacks folder to compare them, but you do not activate them together or combine their files.
Lite
Medium
High
High with motion blur
Extreme
Extreme with volumetric lighting
The creator lists Java 1.7.10 through 26.3 for this release, with Iris and OptiFine support. Your shader loader must also support your particular Minecraft version and hardware. The pack’s broad game range does not make every Iris or OptiFine release interchangeable. These ZIPs are not Bedrock resource packs.
Install through Iris or OptiFine
Iris is the creator’s recommended route. Use a matching Iris setup for your Minecraft version, including the Sodium version that setup requires. If you already have a working Iris modpack, use its existing shader menu instead of adding a second loader.
- Open the matching Java profile and load a world with shaders disabled first.
- Go to Options → Video Settings → Shader Packs.
- Choose Open Shader Pack Folder and copy the downloaded Vibrant ZIP into it. Keep the archive zipped.
- Return to the game, select the pack and apply it. Let the shader finish loading before comparing the result.
- Open the shader’s settings if you want to change individual effects. Try a small change, return to the world and check it in the scene where it matters.
With OptiFine, use Options → Video Settings → Shaders → Shaders Folder, put the ZIP there and select it in the list. Pick one shader-loader route for the instance; do not combine Iris and OptiFine. Use the official Iris or OptiFine download route for the loader.
The shader runs on your client. A multiplayer server does not need to install the pack for you to see its lighting. Other players will keep their own visual settings, and your screenshots can look different from theirs.
Settings worth changing for real play
For smooth survival: start with shadows
Lower Shadows Resolution or Shadows Render Distance before giving up on the entire look. A shorter shadow distance reduces how far the detailed shadows reach; lower resolution makes their edges less detailed. Check your base and a wooded area, not only an empty patch of sky. If High still feels heavy, try Medium or Lite rather than changing many options at once.
For a lake or harbour: tune reflections
In Advanced Settings → Reflections, Water Reflections controls the water effect. Separate options cover glass/ice, metallic and polished blocks, and rain reflections. Turn on the effect that supports your scene; you do not have to enable every reflective surface. If a resource pack changes the blocks’ appearance, judge the combination together.
For a sunrise screenshot: use light direction
Advanced Settings → Sky & Lighting contains Godrays, Volumetric Lighting, clouds and the Sun/Moon angle. First try standing where leaves or a roofline partly interrupt the sunlight. Then adjust the lighting effect if needed. A stronger effect is not always clearer: keep the building or path visible instead of letting glare dominate the picture.
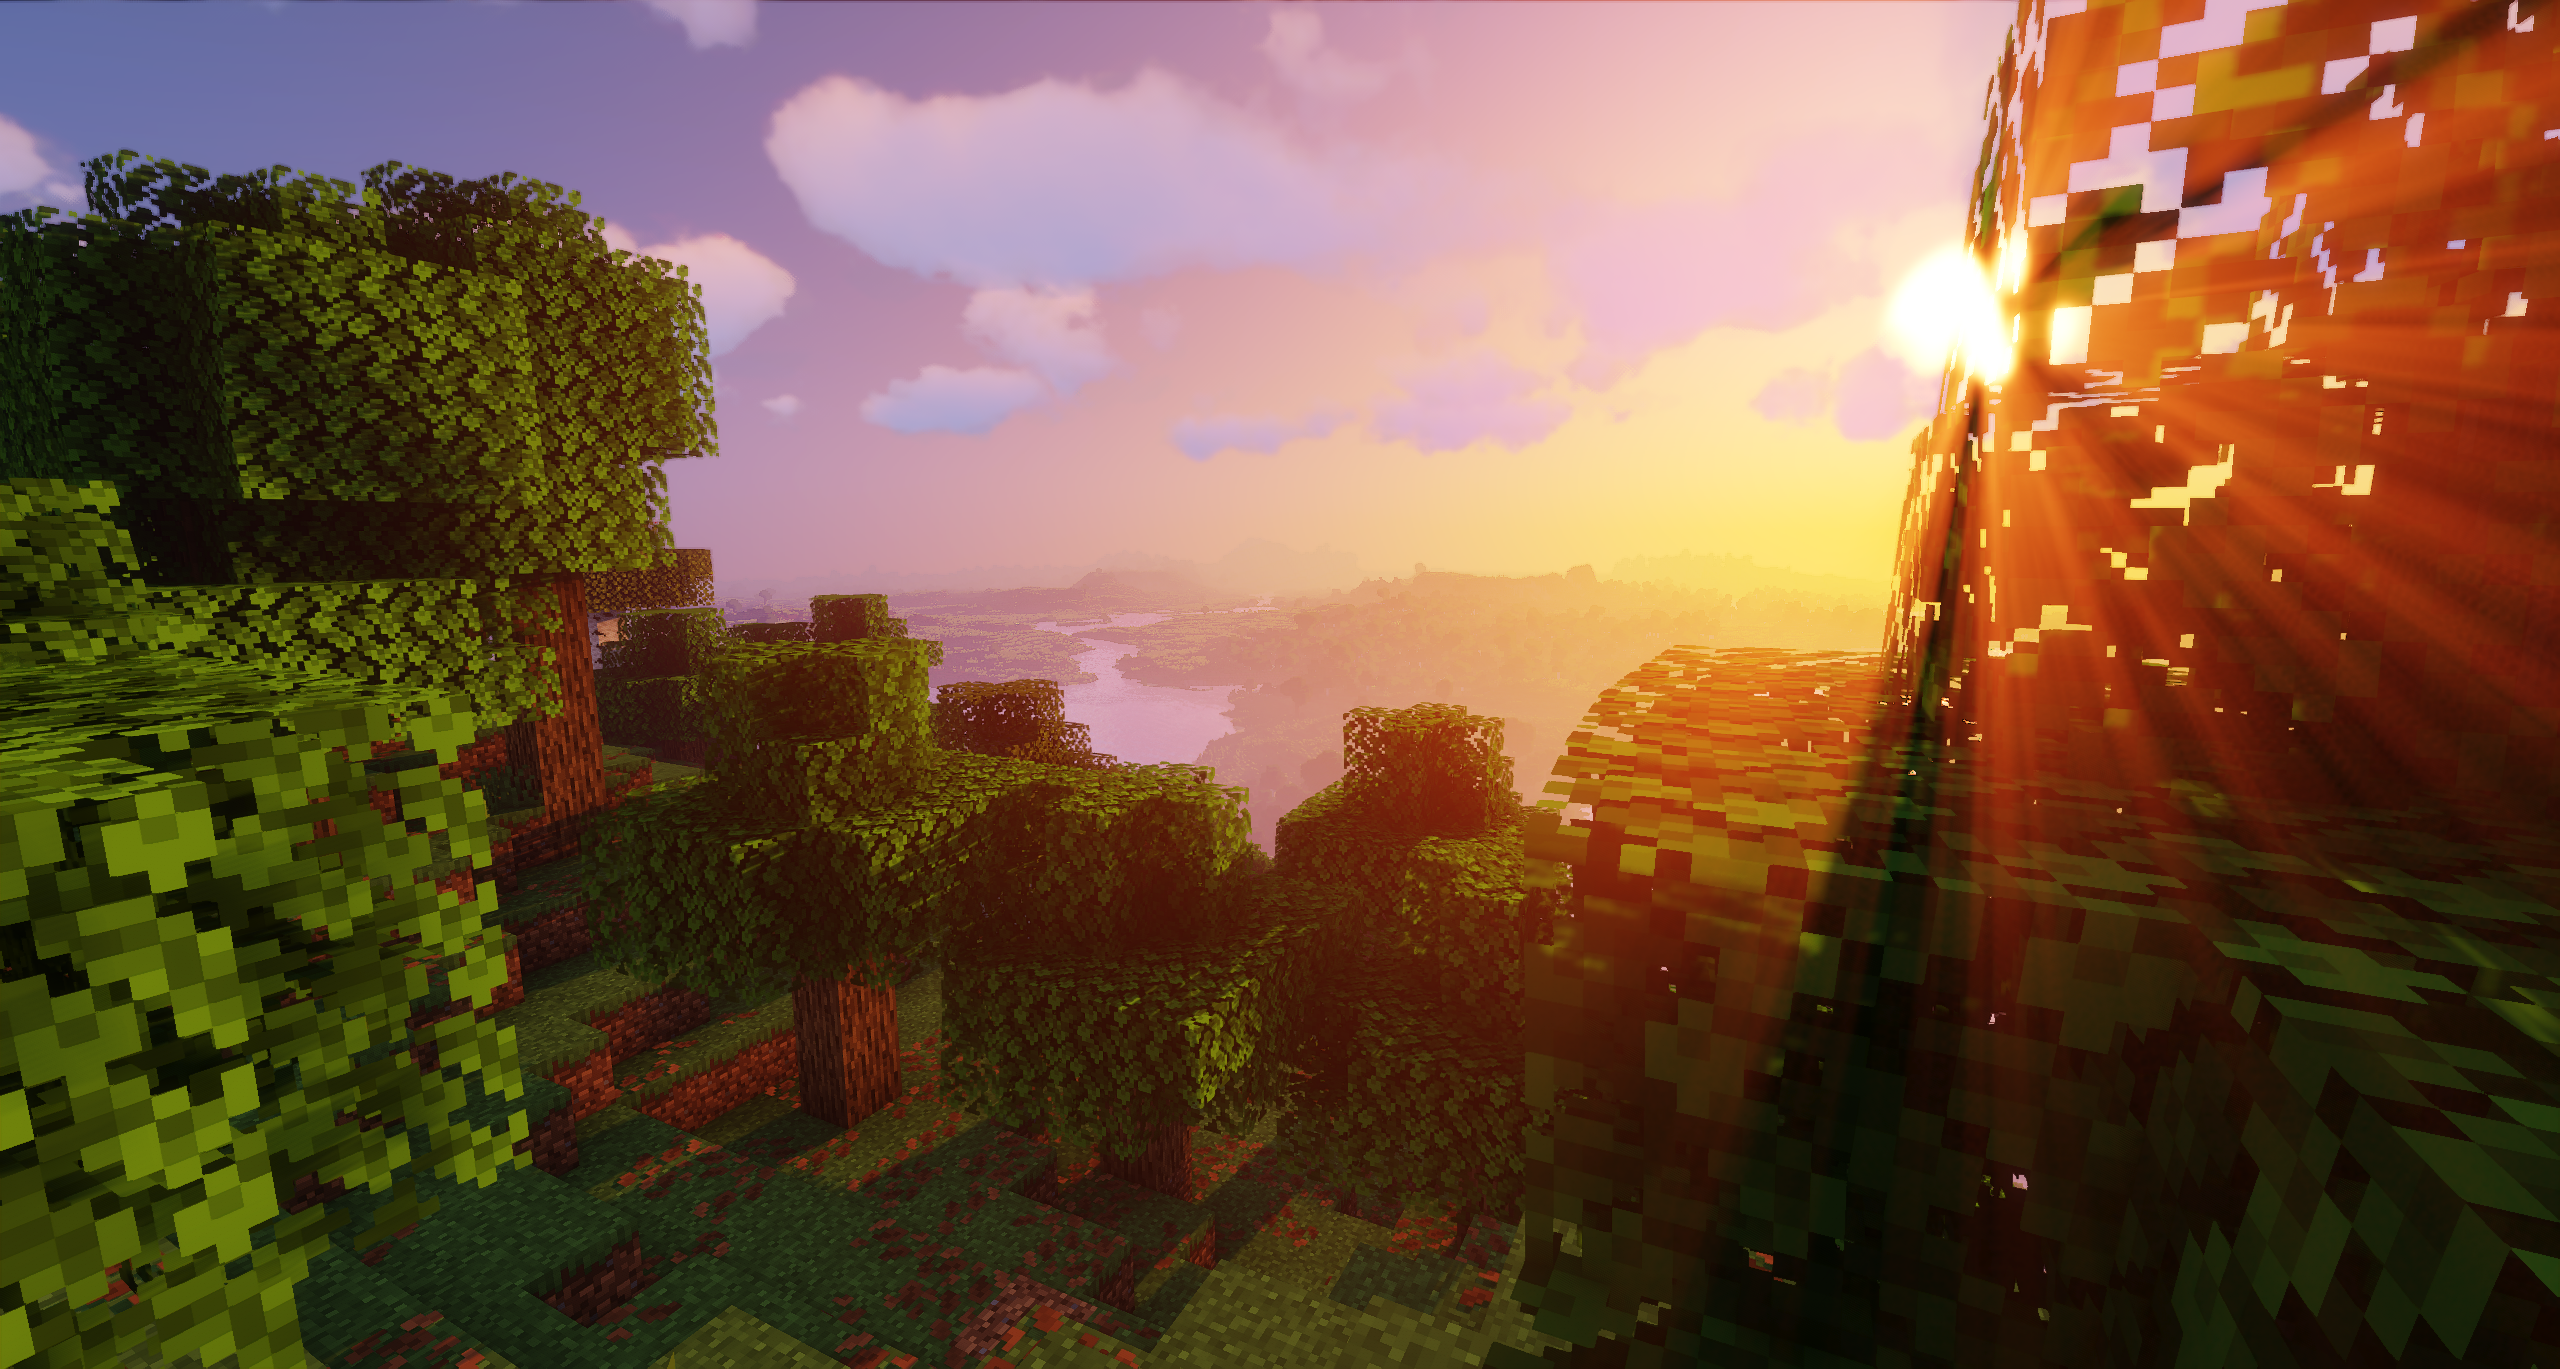
For darker interiors: adjust visibility carefully
The pack exposes Brightness and Contrast under Colors, Moonlight under Sky & Lighting and Minimum Light under Emissive Light. Choose the control matching the problem: night brightness is different from a room’s colour balance. Make small changes and check both indoors and outside so one location does not become washed out.
For a cleaner moving view: turn off unwanted blur
Motionblur softens fast camera movement. Depth of Field focuses the view around a subject and blurs other distances. Leave them off for precise building or quick navigation if they make it harder to read the world. The pack notes that motion blur and depth of field do not work together. Use TAA and its Sharpening control separately when you want smoother edges without deliberately blurring the background.
For textured surfaces: check the resource pack first
Advanced Settings → Normal map → RP Support enables bump or parallax support when your resource pack includes the necessary information. Turning it on does not invent detailed surface maps for ordinary textures. Match the resource-pack requirements and start with default settings before increasing depth or distance.
When something does not look right
The ZIP is missing from the shader list
Check that it is in the active instance’s shaderpacks folder, not mods or resourcepacks. If your browser automatically extracted the download, use the original ZIP again. Reopen the shader menu and confirm that you launched the intended Iris or OptiFine profile.
The picture is black, broken or has transparency glitches
Disable the shader to confirm the world renders normally, then check the game and shader-loader versions. Vibrant 2.02 includes a fix for transparency issues in older Minecraft releases, so replace an older shader copy before chasing unrelated settings. If the problem only appears with extra rendering mods, try the shader in a separate instance with just its required loader setup.
The game looks good but feels slow
Try Lite, lower the shadow settings and check the same area at your usual resolution. Loading new terrain and displaying expensive shader effects are different sources of stutter, so also pause in an already loaded area. Change one setting at a time, keeping the option only if it improves the play you care about.
Coloured window light is missing
Check Advanced Settings → Shadows → Colored Shadows, then use stained glass with direct sunlight reaching it. Change the time or viewpoint if needed. The option can produce visual glitches in some situations; if that happens, disable it while keeping the rest of the shader active.
Distant terrain looks wrong with Distant Horizons or Voxy
The creator lists support for both projects, but use compatible releases for your game and loader. First establish that Vibrant works without the distant-terrain mod, then add the matching integration. If seams, missing terrain or unusual fog appear only after that addition, focus on that combination rather than replacing unrelated gameplay mods.
For a subtler visual direction, Sildur’s Enhanced Default is a separate project, not another Vibrant preset. For another atmospheric shader style, explore Glimmer’s lighting and settings guide. Keep the version whose colours, visibility and responsiveness suit your world, not simply the one with the highest preset name.
More for your Java setup.
Glimmer Shaders
1.5.2Give your Java world natural light, reflective water and atmospheric skies with Glimmer. Compare its four presets, tune a survival base or coastal build, and install the shader with Iris. Includes practical settings, original screenshots and the 1.5.2 download for Java 1.20–1.21.11.
- Minecraft
- 1.20–1.21.11
- Runtime
- Iris
- Performance
- Performance not tested
Java · Shader
Glimmer Shaders
Give your Java world natural light, reflective water and atmospheric skies with Glimmer. Compare its four presets, tune a survival base or coastal build, and install the shader with Iris. Includes practical settings, original screenshots and the 1.5.2 download for Java 1.20–1.21.11.
- Minecraft version
- 1.20–1.21.11
- Game edition
- Java Edition
- Loader / platform
- Not applicable
- License
- MIT
- Performance expectation
- Depends on setup
- Platform family
- Java & PC
- Supported devices
- Windows and Linux; OpenGL 4.3+
- Install format
- .zip shaderpack
- Touch readiness
- Not required
- Resource type
- Shader
- Project version
- 1.5.2
- Last verified at
- Sep 19, 2026
- Compatibility confidence
- Source claimed
- Java shader runtime
- Iris
- Shader preview mode
- Single cover
- Notable feature
- Four presets, colored block lighting and Infinite Ocean
- Shader performance tier
- Performance not tested
- Shader settings guide
- Available
- Edition applicability
- Java
- Delivery state
- Direct download
- Lifecycle state
- Current
Player discussion 0
Questions, discoveries and help from other players.