
MineBrush publication
Glimmer Shaders: Natural Light, Better Water and Settings That Matter
Give your Java world natural light, reflective water and atmospheric skies with Glimmer. Compare its four presets, tune a survival base or coastal build, and install the shader with Iris. Includes practical settings, original screenshots and the 1.5.2 download for Java 1.20–1.21.11.
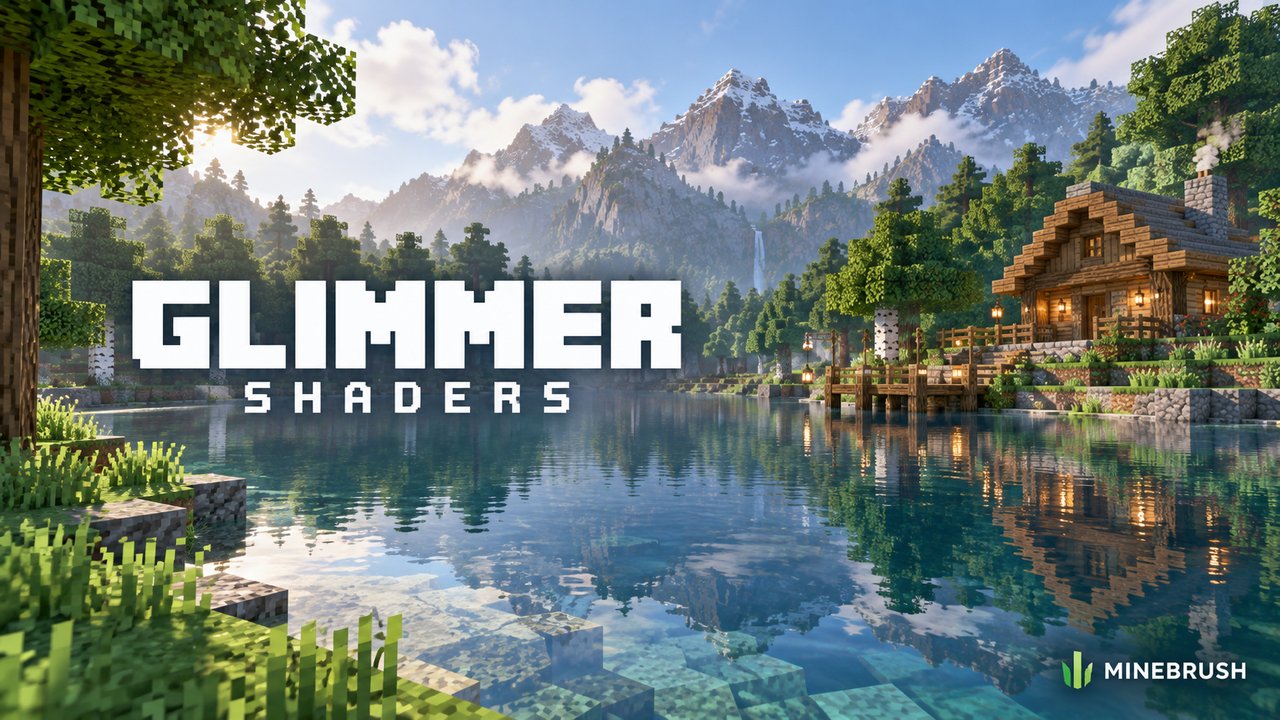
A lakeside house can look welcoming in daylight and completely different when its windows glow through the evening mist. Glimmer, by Josh Britain (jbritain), gives Minecraft Java that kind of atmosphere: reflective water, softer-looking landscapes, clouds, fog and optional colored block lighting, while leaving the familiar block textures recognizable.
Its four presets let you choose how much visual detail to spend performance on. You can keep a modest setup for everyday survival, then turn up shadows and water for a tour of your latest build. The useful part is knowing which settings change the scene—and which merely make your computer work harder.
Before downloading: this is Glimmer 1.5.2 for Java 1.20–1.21.11 with Iris. The author does not list 26.x for this release. OptiFine, macOS and Raspberry Pi are unsupported; a compatible Windows or Linux graphics setup must support OpenGL 4.3 or newer. This is not a Bedrock or mobile shader.
What changes · Choose a preset · Settings for your world · Water and reflections · PBR and distant terrain · Download and install · Fix common problems
What Glimmer changes in your world
Glimmer changes how the game draws light, sky, water and surfaces. It does not add biomes, buildings or new survival mechanics. You can use it in an existing single-player world or as a client-side visual addition while visiting a server; other players do not need your shader to join you.
- Landscapes: atmospheric fog separates nearby trees from distant hills, while procedural clouds give the sky more texture.
- Buildings: sunlight and shadows give roofs, arches and courtyards more shape. Colored block lighting can make a portal room feel different from a warm, lamp-lit workshop.
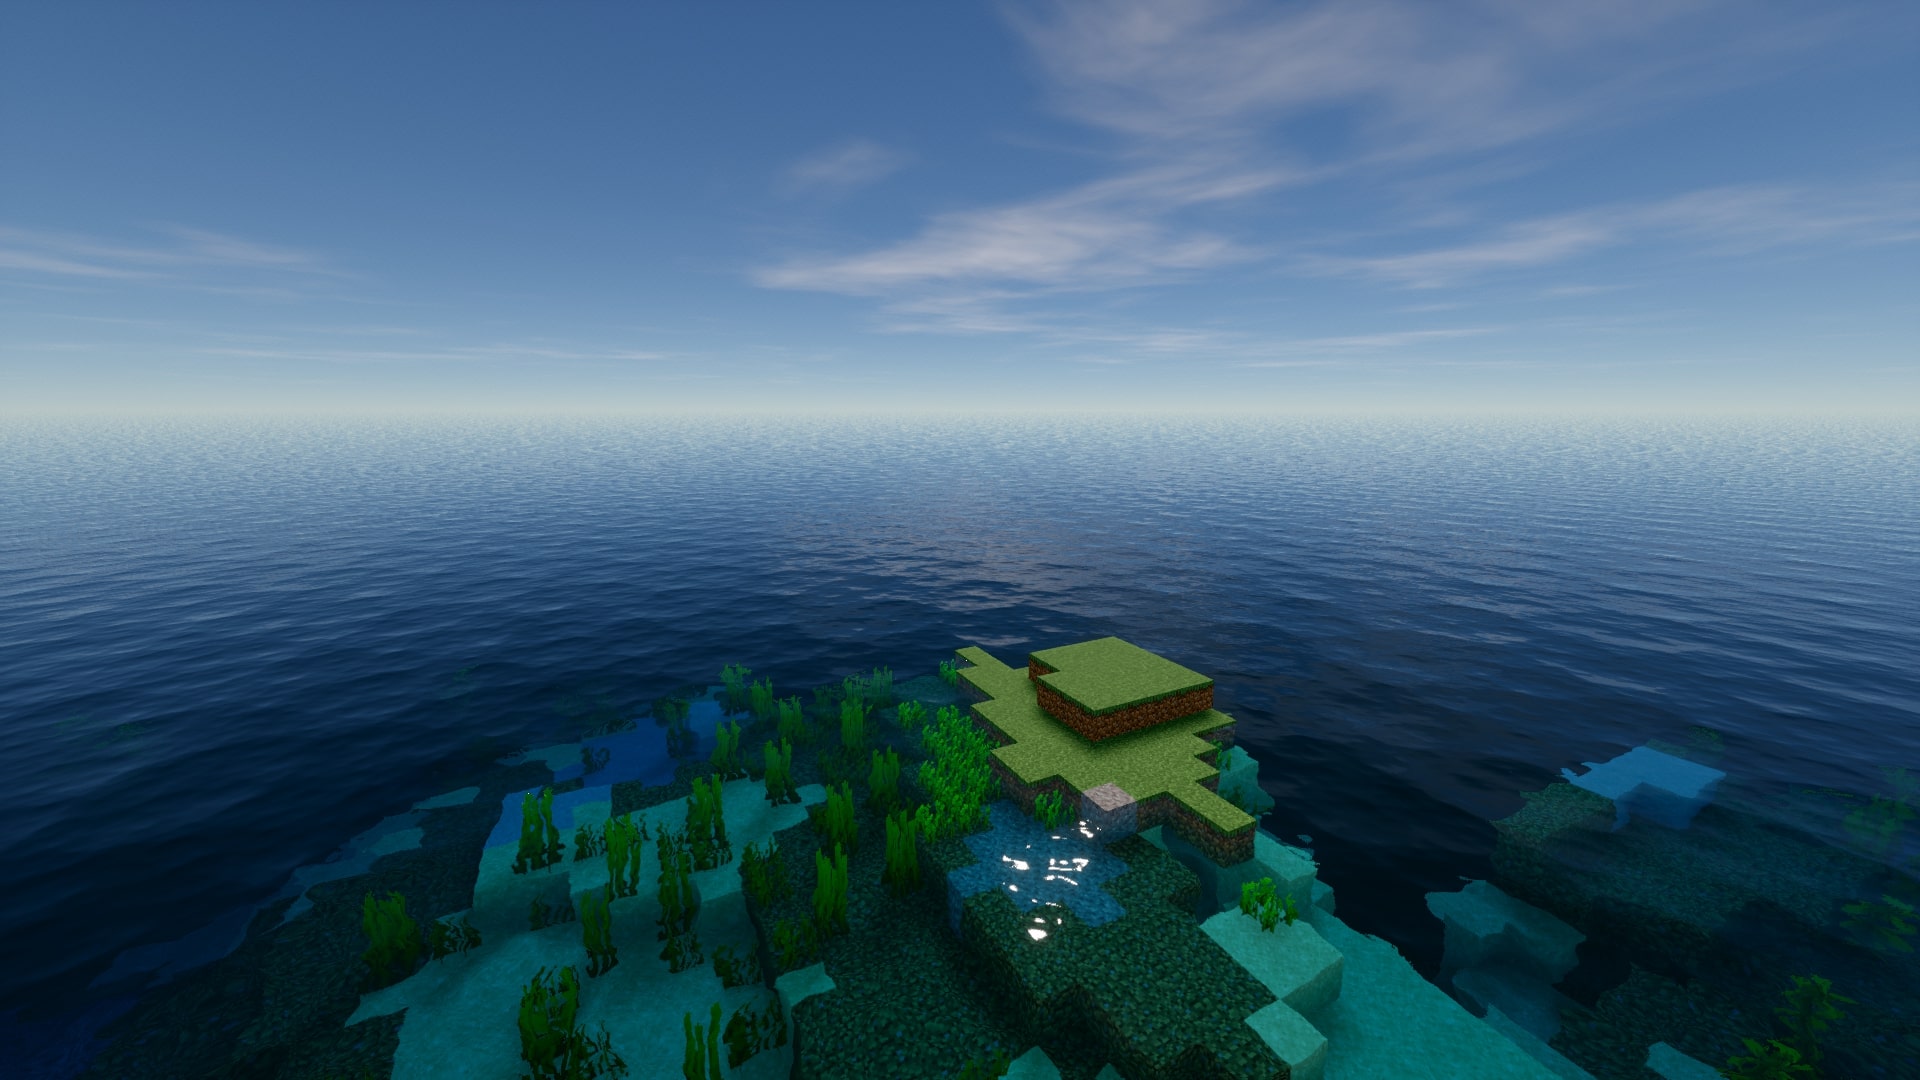
- Coasts and rivers: reflections, refraction and waves add movement and depth. An optional Infinite Ocean effect extends the visible water beyond nearby terrain.
- Materials: optional LabPBR textures can give surfaces material-specific detail. You do not need a PBR resource pack to enjoy the basic shader.
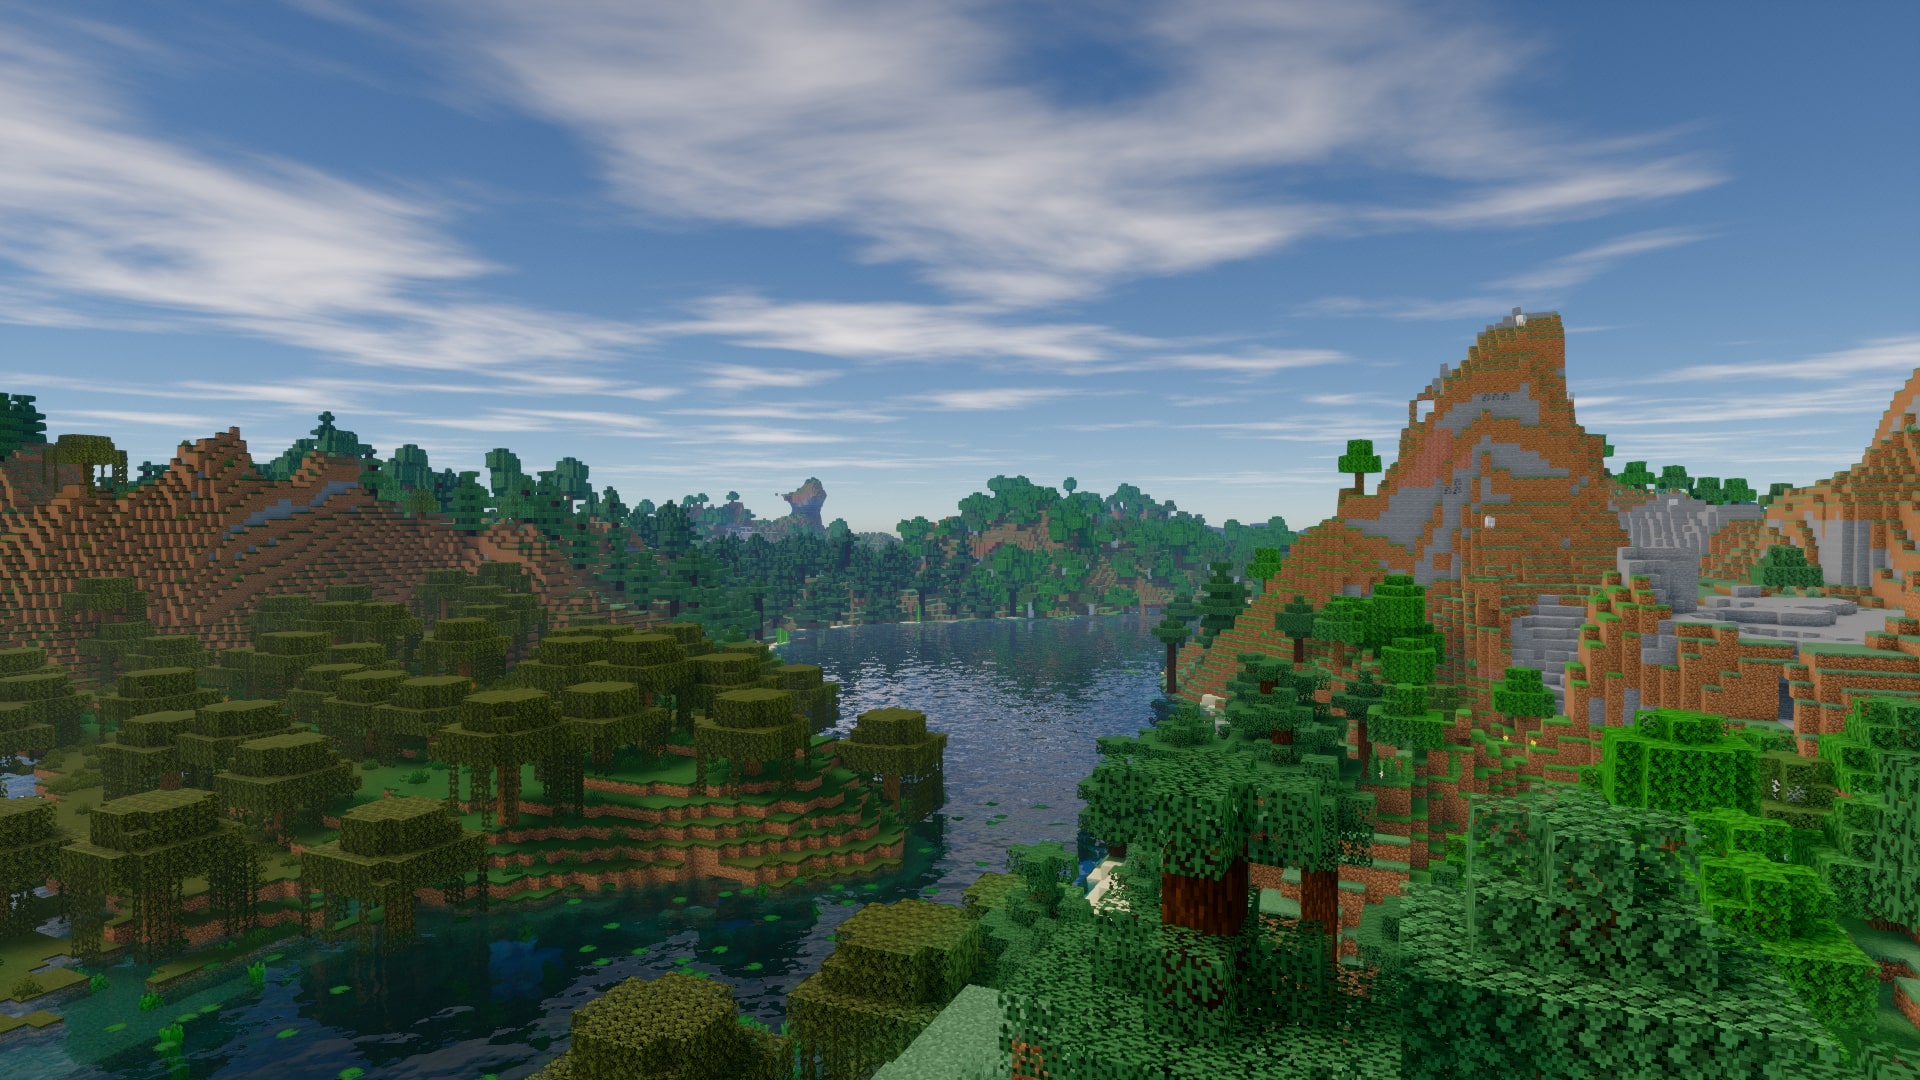
Pick a preset before changing individual settings
Open Shader Pack Settings from Iris’s Shader Packs screen and select a profile. The names are starting points, not performance guarantees. A laptop with integrated graphics may still need Toaster, while a dedicated graphics card can benefit from a lighter preset at a high display resolution.
Potato: start here if smooth movement comes first
This profile switches off shadows, clouds, fancy fog, colored block lighting and several other effects. It keeps the faster reflection mode. Use it to find out whether the basic look is comfortable during mining, building and travel before adding more detail.
Toaster: atmosphere without shadow maps
Toaster keeps shadows off but enables clouds, bloom and fancy fog, with screen-space light rays. It is a useful first choice when you want softer landscapes and a more atmospheric sky without jumping straight to the heavier profiles.
Integrated Graphics: more shape and richer water
This profile enables shadows and screen-space reflections, with a relatively short shadow distance and modest shadow quality. Temporal filtering helps smooth some noise. Try it when Toaster runs comfortably and you want trees and buildings to cast more convincing shadows.
Dedicated Graphics: detail for builds and scenery
The most detailed preset increases shadow quality and distance, enables colored block lighting, water caustics, water parallax and volumetric light rays, and raises reflection quality. Start with a familiar view and walk around before settling on it. A beautiful still frame is not enough if turning the camera or entering your busiest base becomes unpleasant.
A practical comparison: stand outside your base facing trees, water and a building. Try one preset, then the next, without changing location or time. Walk the same short route each time. Keep the least expensive profile that gives you the visual features you actually notice.
Settings worth changing for the way you play
Everyday survival: readable caves and clear movement
Start with Potato or Toaster. In Post-Processing, leave Motion Blur off if you prefer a crisp view when turning. If dark interiors are hard to read, adjust Ambient Light Strength in Lighting & Shadows gradually rather than washing out the whole scene. Dynamic Handlight can illuminate your view while you hold a light source.
These are visual effects: a brighter-looking cave or a held light does not replace placed torches for normal Minecraft light-level and mob-spawning rules. Keep lighting your routes and base as you normally would.
A village, cabin or castle: shape first, glow second
Try Integrated Graphics for visible shadows. Look at your build in daylight before adding fog or bloom: roofs and overhangs should remain readable. In Sky & Fog, Fancy Fog and Morning Fog Density can make a valley settlement feel softer at low sun angles. If the haze hides the building you are trying to show, reduce it instead of increasing brightness everywhere.
For night interiors, enable coloured Blocklight under Lighting & Shadows, with Shadows enabled; the feature depends on them. Adjust Bloom Strength under Post-Processing if luminous surfaces lose too much detail. Colored light and bloom do different jobs: the first affects surrounding illumination, while the second adds a glow around bright areas.
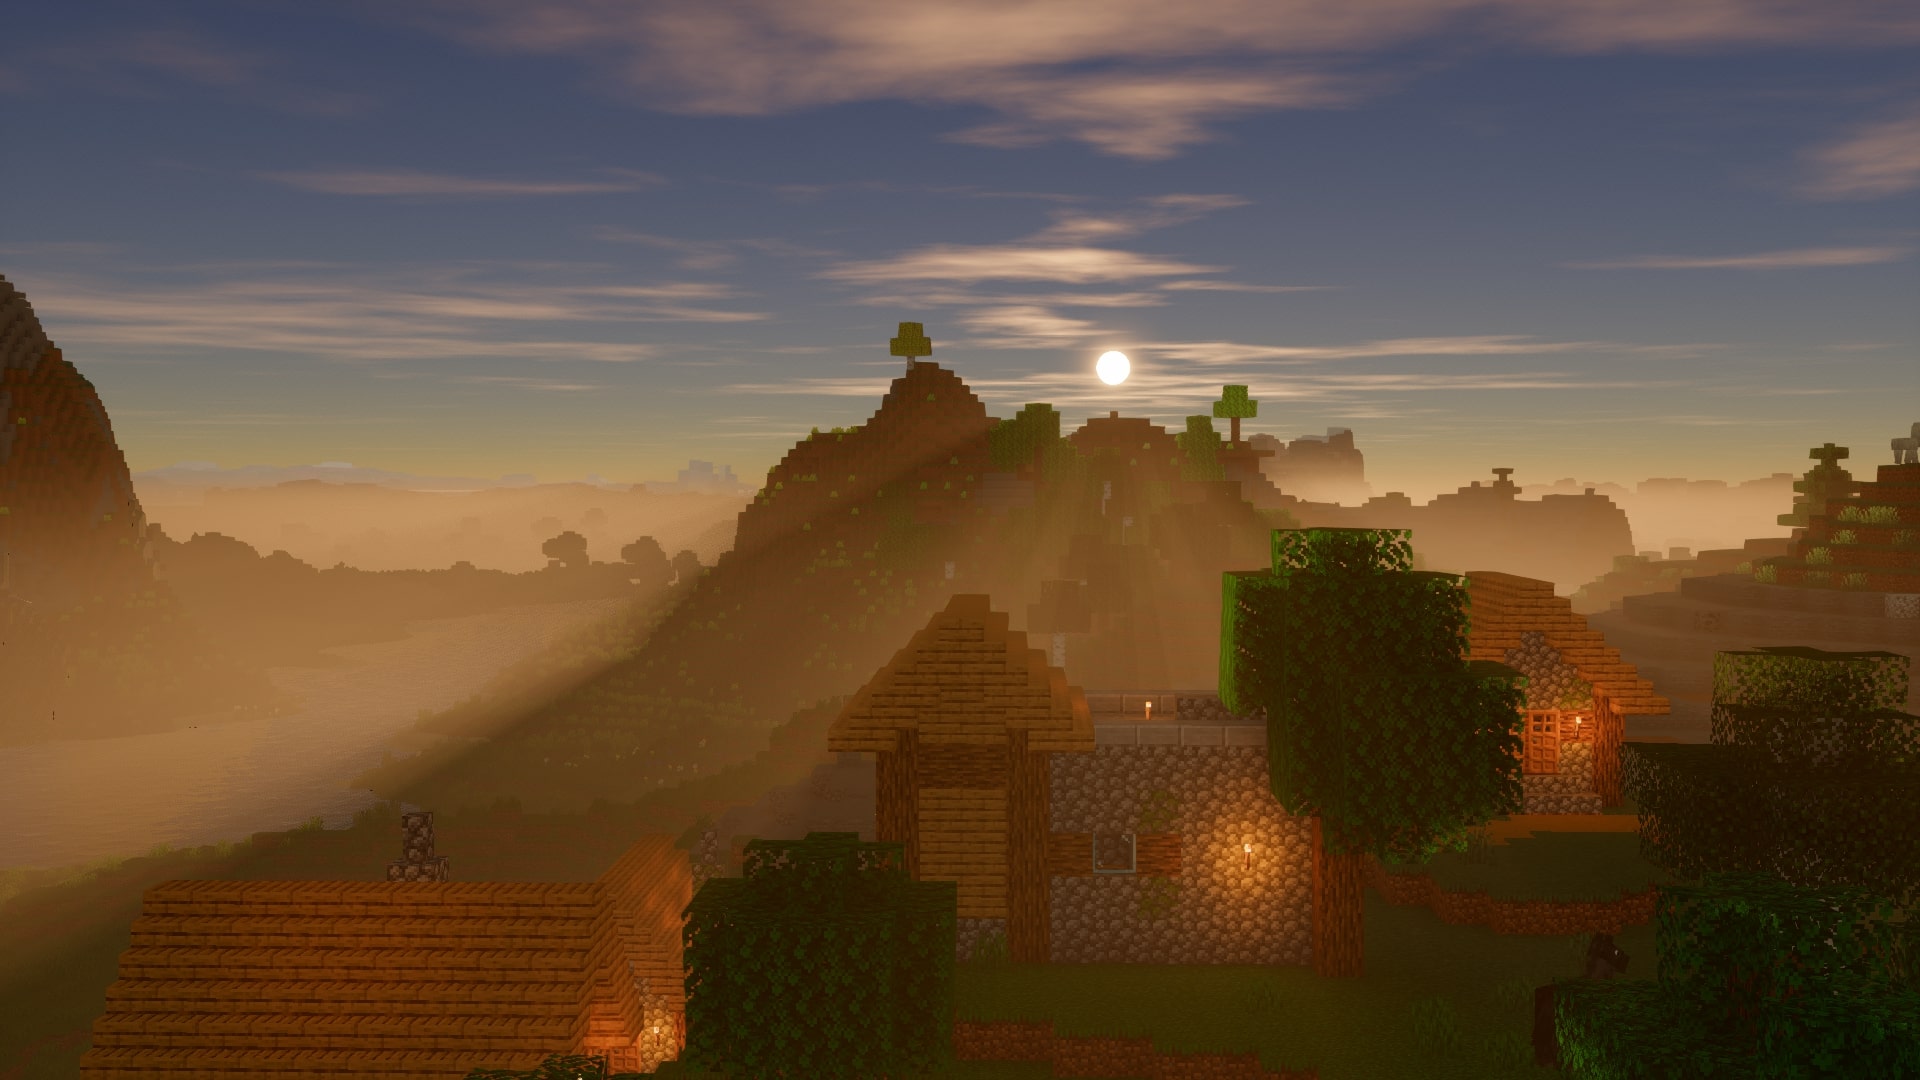
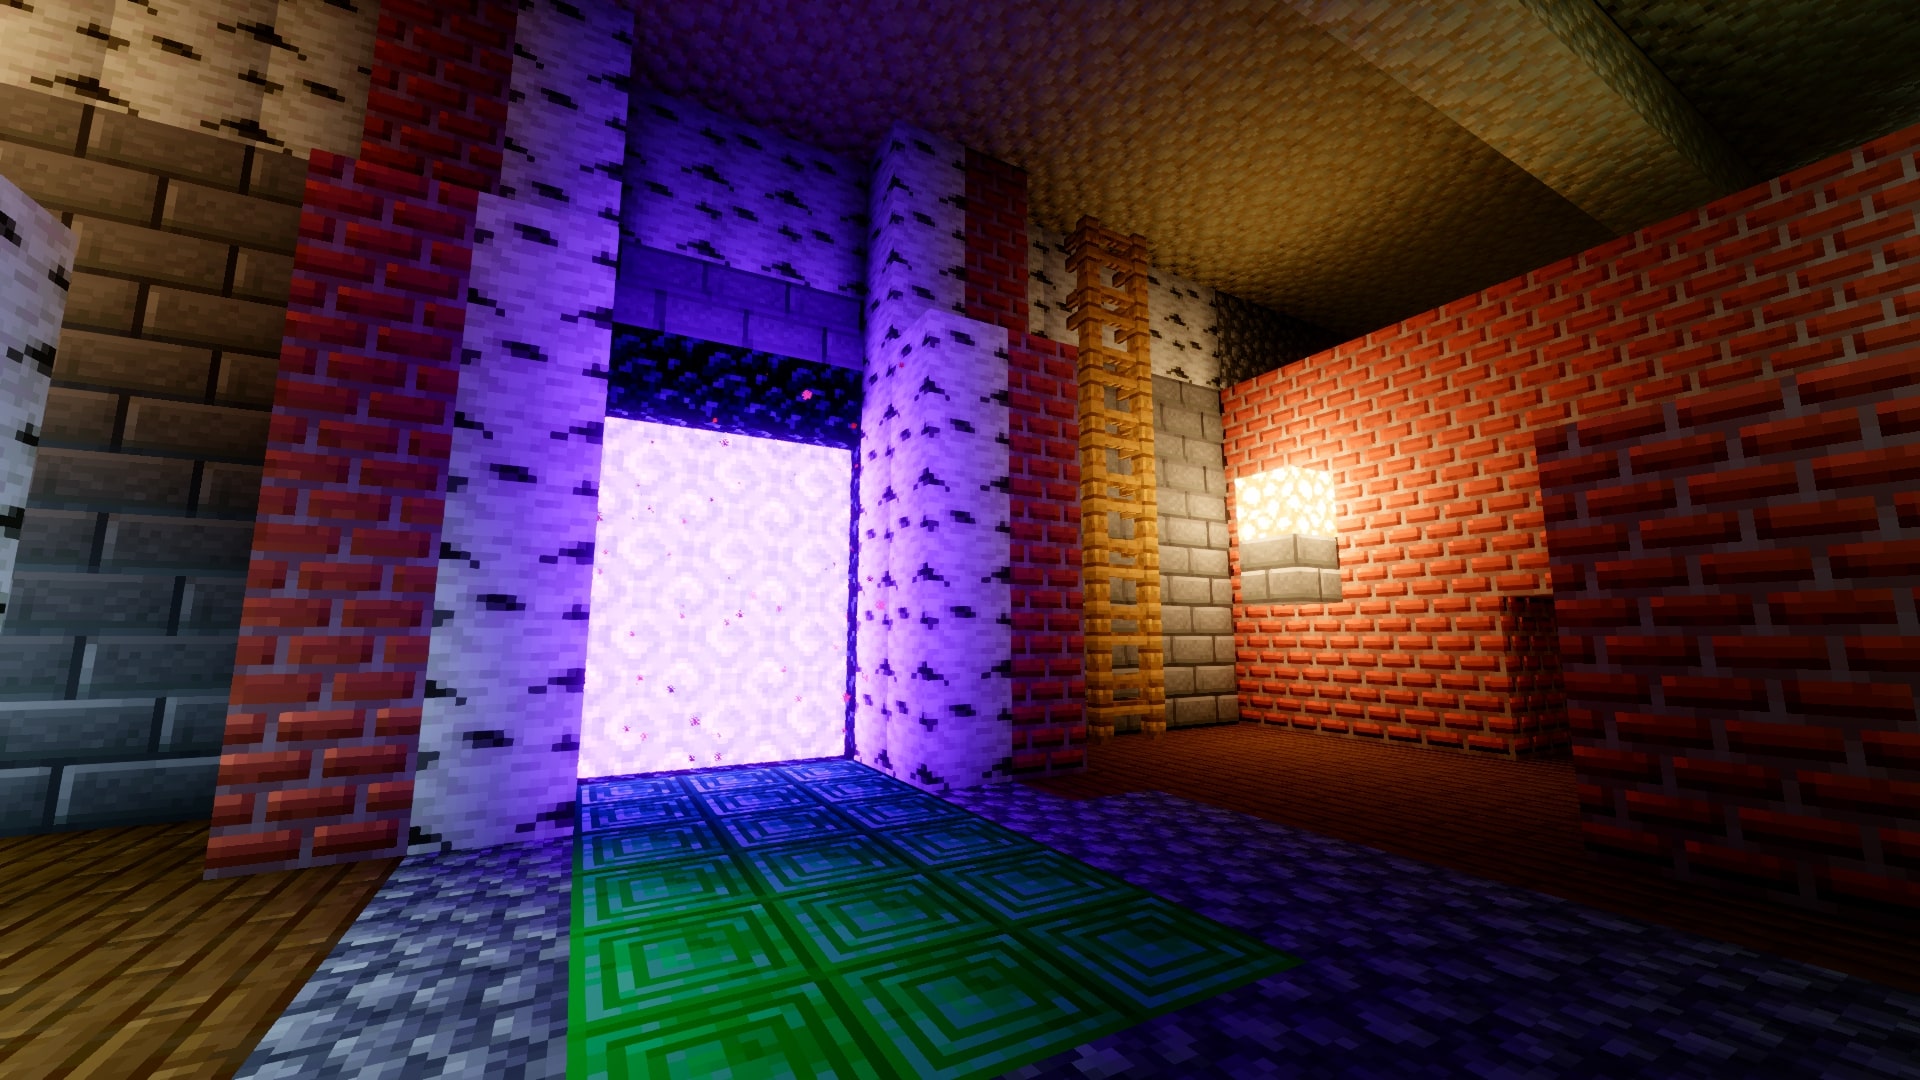
Build screenshots: control the brightness before adding effects
Use the same camera position while adjusting Contrast, Saturation and Bloom Strength in Post-Processing. If you want to set Exposure manually, switch off Auto Exposure first: the automatic setting overrides manual exposure. Avoid pushing saturation so far that different blocks become difficult to tell apart.
Press F1 to hide the HUD and F2 to take a Java screenshot with the default keys. A laptop may require its Fn key. After the shot, restore your normal preset if the scene settings are too demanding for regular play.
Make water suit a harbour, river or island
In the Water settings, start with Reflection. Fast is cheaper but estimates the reflection; SSR follows what the screen can show more closely and costs more. For a harbour with buildings beside the water, compare the shoreline while turning the camera. If reflections end abruptly near the edge of the view, try Reflection Edge Fade.
Refraction bends the view through the water, while Water Parallax adds apparent depth to waves. Caustics add moving light patterns and require shadows. Enable them one at a time so you can see whether the extra detail helps your scene. For a clear underwater build, reduce excessive scattering or absorption gradually rather than switching every water effect off.
Infinite Ocean, in World settings, is useful for an island or seaside panorama where you want water to continue toward the horizon. Set Sea Level to match the world. It draws a visual ocean; it does not create water blocks, extra terrain or somewhere new to swim. Turn it off when it produces an unwanted water plane in a custom map or unusual world.
Optional extras: PBR textures and distant terrain
Use LabPBR for close-up material detail
A compatible LabPBR 1.3 resource pack supplies extra surface information that ordinary textures may not include. Enable the resource pack, then set PBR Support to LabPBR 1.3 in Glimmer. Use Materials → Parallax (POM) when you want apparent surface depth on supported textures.
This is most useful for looking closely at a decorated room or wall. Parallax does not change the shape you collide with. If a surface looks strangely glossy or deeply embossed, first check that the texture pack uses the expected material format; then lower Parallax Height or disable parallax to separate the texture issue from the shader’s basic lighting.
Add Distant Horizons or Voxy for large views
Glimmer includes support for distant-terrain rendering with Distant Horizons and Voxy. These are separate optional mods, not part of the shader download. Get Glimmer working with Iris first, then add the distant-terrain solution that supports your exact Minecraft and loader versions. You do not need both.
In the Distant Horizons/Voxy settings, Ambient Occlusion adds definition to distant terrain; reduce it if the far view is noisy or costly. Let the distant-terrain mod build its data before judging the final view. Shader support alone does not promise that every combination of mod versions will work together.
Download Glimmer 1.5.2 and install it with Iris
The file below is the shader pack. Iris must be installed separately for the Minecraft profile you use. Glimmer 1.5.2’s author-listed range is Java 1.20 through 1.21.11; choose an Iris build for your exact game version. Do not assume this file is a supported 26.x release.
- Install and launch a matching Iris profile. If you use a modpack launcher, work inside that specific instance.
- Open Options → Video Settings → Shader Packs, then open the shader-pack folder.
- Put Glimmer-v1.5.2.zip in that
shaderpacksfolder. Keep it zipped; do not place it inmodsorresourcepacks. - Return to the Shader Packs screen, select Glimmer and apply it. Make sure shaders are enabled.
- Open its settings, choose Potato or Toaster for your first look, and visit a familiar area. Raise the preset only after checking movement and visibility.
You can switch back to the normal view by disabling shaders in Iris. Removing a visual shader does not remove buildings or items from your world.
Fix the problem you can actually see
Glimmer is missing from the list
Open the shader-pack folder from the running game instead of guessing its location. Check that the ZIP is there and that you launched the Iris profile. Multiple launchers often have separate game directories.
The shader fails to load, or the screen reports an OpenGL error
Confirm you are using Iris, a supported game version and a GPU/driver with OpenGL 4.3 or newer. On a laptop with two GPUs, check which GPU Minecraft is using. Update drivers from the GPU vendor where appropriate. The author explicitly excludes macOS, Raspberry Pi and OptiFine; a preset toggle does not remove those limitations.
It fails specifically in the Nether
Version 1.5.2 fixes a bloom problem that prevented loading in the Nether. Check the selected file is 1.5.2 rather than an older copy. If the problem remains, try resetting the shader settings and disabling bloom to narrow it down.
It looks good, but moving around is too slow
Lower the preset first. Next reduce Shadow Distance and Shadow Quality, then switch water Reflection from SSR to Fast. Disable colored block lighting, water parallax and distant-terrain ambient occlusion if you do not need them. Also lower the game’s render distance or display resolution when appropriate. Change one setting at a time and revisit the same scene.
Moving objects leave trails, or the view is too soft
Try disabling Temporal Filtering in Post-Processing and keep Motion Blur off. Temporal filtering reduces noise using previous frames, so the trade-off can be blur or ghosting. If noise returns, balance the relevant shadow or reflection quality against performance rather than enabling every effect at once.
The reflection disappears when I turn away
Screen-space reflections depend on the visible scene; objects leaving the screen can no longer contribute in the same way. Reflection Edge Fade can soften a cutoff, but it does not turn SSR into an unlimited view of the whole world. Screen-space godrays also depend on the sun being visible; volumetric mode needs shadows and suitable shadow quality.
Do I need an RTX card or a paid texture pack?
An RTX-branded card is not a stated requirement. The relevant limits are the author’s graphics requirements and the performance of your setup. PBR textures are optional; start with Minecraft’s normal textures and add a compatible pack only if you want its material detail.
More for your Java setup.
Iris Shaders
1.11.6 / 1.11.4Give your Java world the lighting you want. Download matching Iris and Sodium files, add a shader pack, tune it for survival or screenshots, and solve common setup problems with illustrated guidance.
- Minecraft
- 26.3 Fabric · 26.2 Fabric / NeoForge
- Runtime
- Iris
- Performance
- Performance not tested
Choose one matching pair; add a separate shader pack
Java · Shader
Iris Shaders
Give your Java world the lighting you want. Download matching Iris and Sodium files, add a shader pack, tune it for survival or screenshots, and solve common setup problems with illustrated guidance.
Choose one matching pair; add a separate shader pack
- Minecraft version
- 26.3 Fabric · 26.2 Fabric / NeoForge
- Game edition
- Java Edition
- Loader / platform
- Fabric
- License
- LGPL-3.0-only
- Performance expectation
- Depends on setup
- Platform family
- Bedrock & Mobile
- Supported devices
- Windows · macOS · Linux (Java Edition; GPU support varies)
- Install format
- Iris + Sodium JARs in mods; shader ZIP in shaderpacks
- Touch readiness
- Not required
- Resource type
- Mod
- Project version
- 1.11.6 / 1.11.4
- Last verified at
- Sep 18, 2026
- Compatibility confidence
- Source claimed
- Java shader runtime
- Iris
- Shader preview mode
- Single cover
- Performance evidence
- Depends on your shader pack, preset and GPU
- Notable feature
- Load shader packs and adjust their visual settings
- Shader performance tier
- Performance not tested
- Shader settings guide
- Available
- Card limitation note
- Choose one matching pair; add a separate shader pack
- Edition applicability
- Java
- Delivery state
- Direct download
- Lifecycle state
- Current
Distant Horizons
3.2.0-b betaSee distant mountains, coastlines and your own builds beyond normal render distance. Learn useful settings, understand multiplayer and shader support, view six original screenshots and download the right Distant Horizons build for your Minecraft version.
- Minecraft
- Java 26.2 / 26.1.x / 1.21.11 / 1.21.1 / 1.20.1
- Loader
- Fabric
- Runtime
- Client
Beta · measure on your device · back up LOD database
Java · Mod
Distant Horizons
See distant mountains, coastlines and your own builds beyond normal render distance. Learn useful settings, understand multiplayer and shader support, view six original screenshots and download the right Distant Horizons build for your Minecraft version.
Beta · measure on your device · back up LOD database
- Minecraft version
- Java 26.2 / 26.1.x / 1.21.11 / 1.21.1 / 1.20.1
- Game edition
- Java Edition
- Loader / platform
- Fabric
- License
- LGPL-3.0
- Platform family
- Java PC
- Supported devices
- Windows · macOS · Linux
- Install format
- .jar mod file from the creator
- Touch readiness
- Not required
- Resource type
- Mod
- Project version
- 3.2.0-b beta
- Last verified at
- Sep 19, 2026
- Secondary guide action
- Setup & fixes
- Compatibility confidence
- Source claimed
- Java mod loader
- Fabric
- Java runtime side
- Client
- Card evidence statement
- Creator JAR and documentation checked 2026-09-05 · runtime not tested
- Required dependency
- Matching loader; required Fabric API components bundled
- Card delivery statement
- Five version-specific JAR downloads
- Card limitation note
- Beta · measure on your device · back up LOD database
- Edition applicability
- Java
- Delivery state
- Direct download
- Lifecycle state
- Current
Player discussion 0
Questions, discoveries and help from other players.